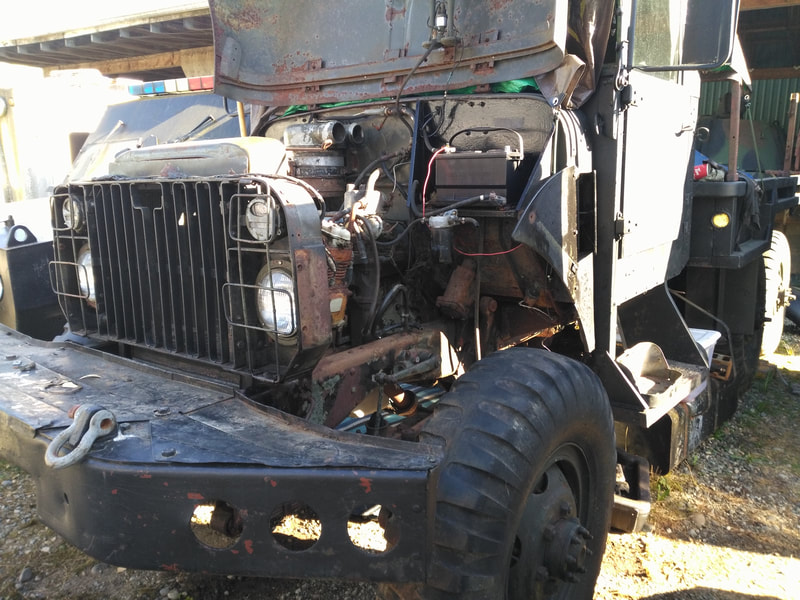
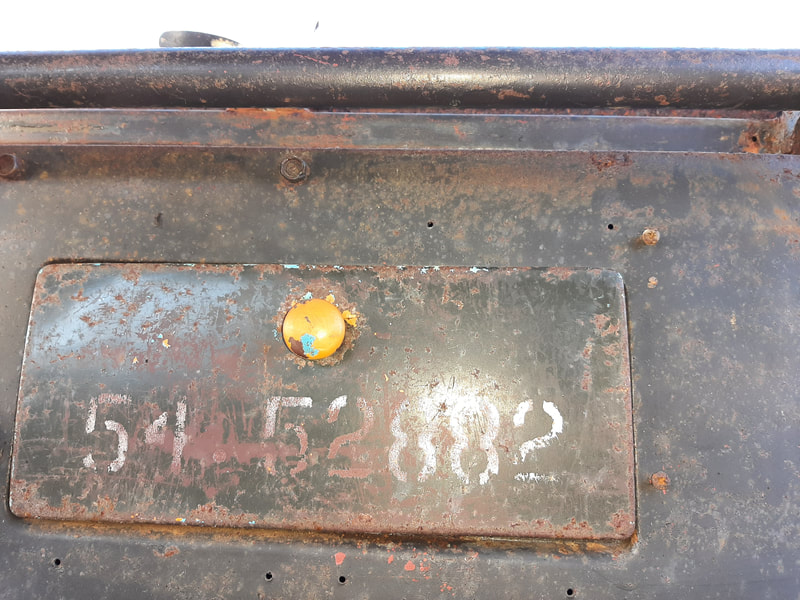
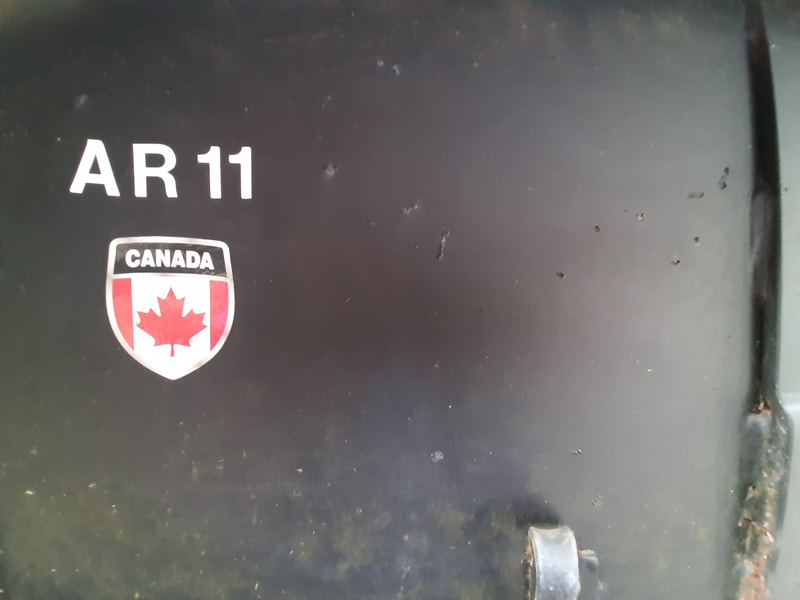
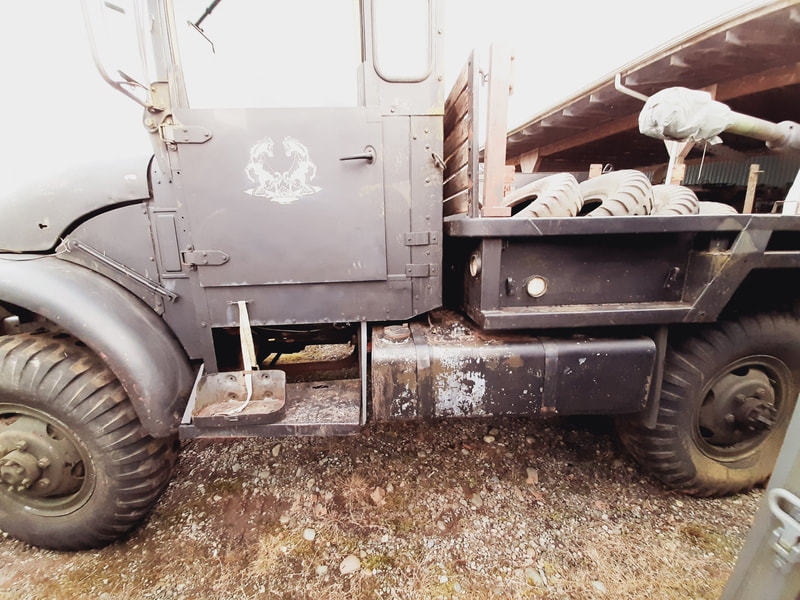
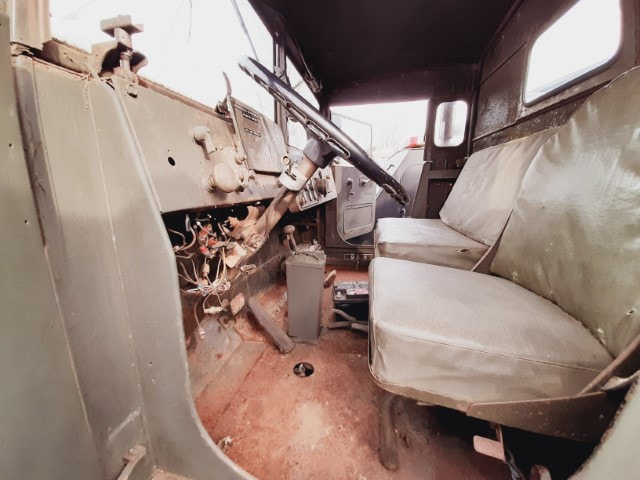
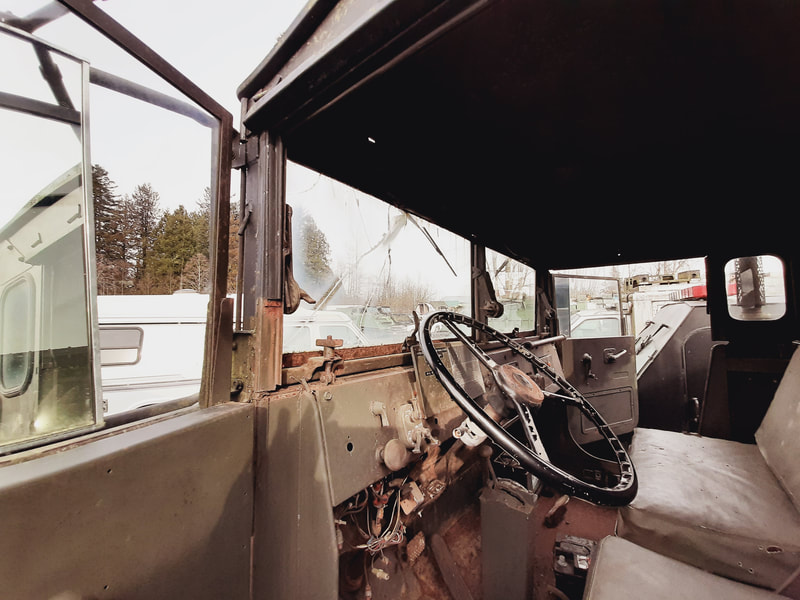
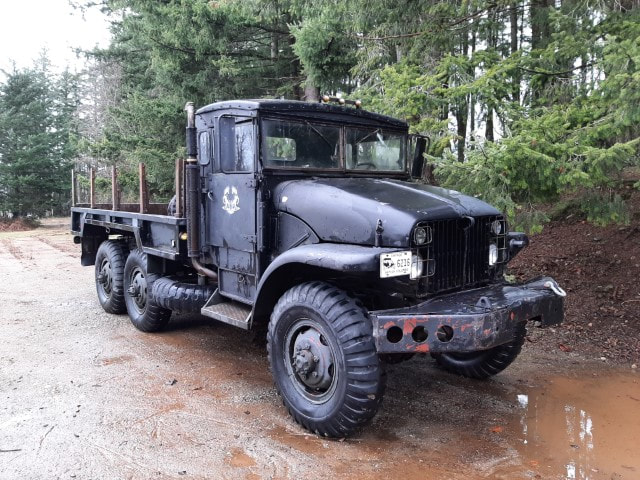
1954 M135 Deuce and a Half
What does it take to bring back a 66 year old truck back to presentable condition? Follow our story as we put in some sweat equity and uncover the story behind this truck. Would you like to be part of the team? Contact [email protected]
Friday, 10 September
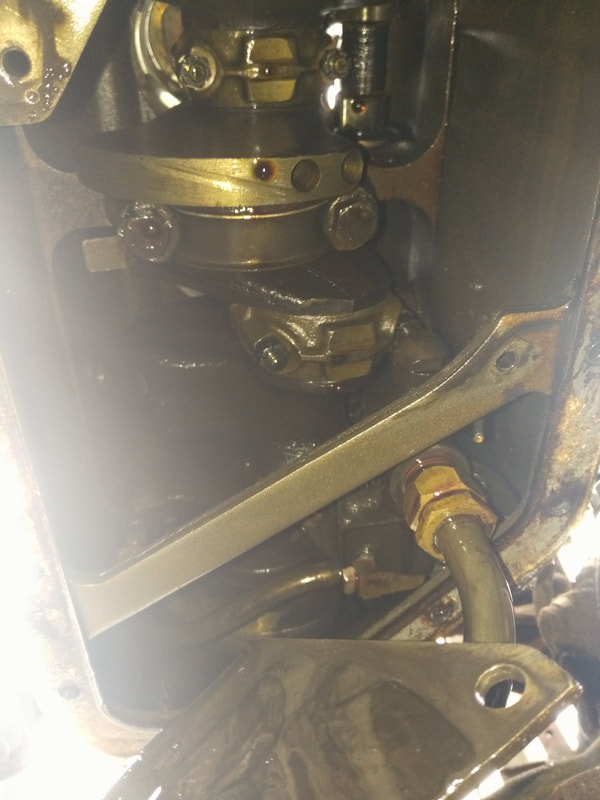
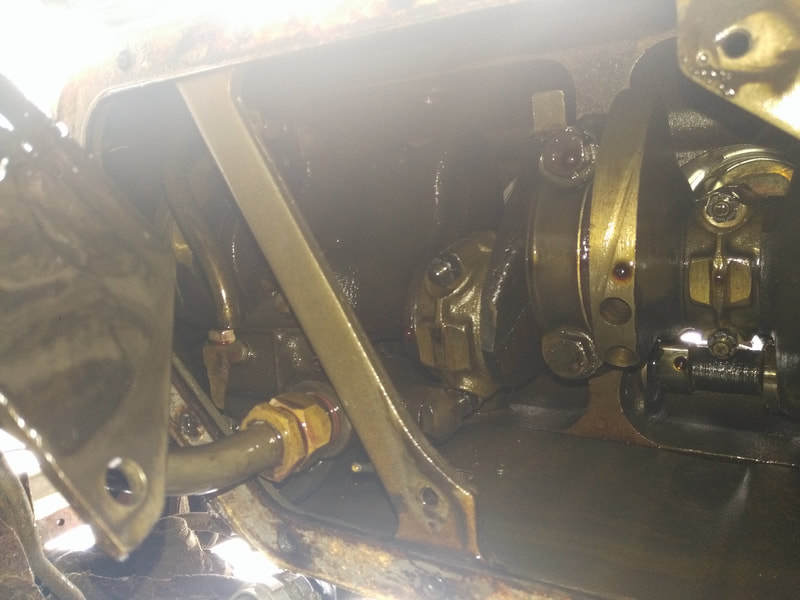
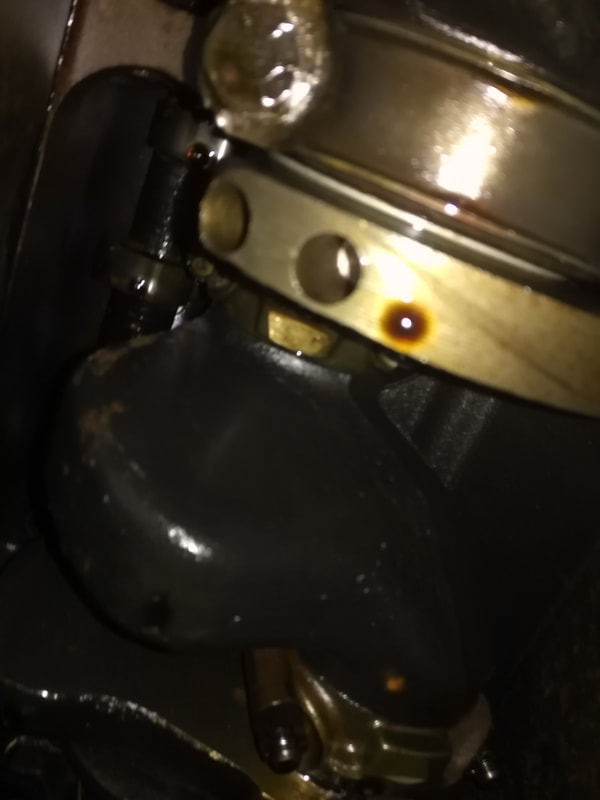
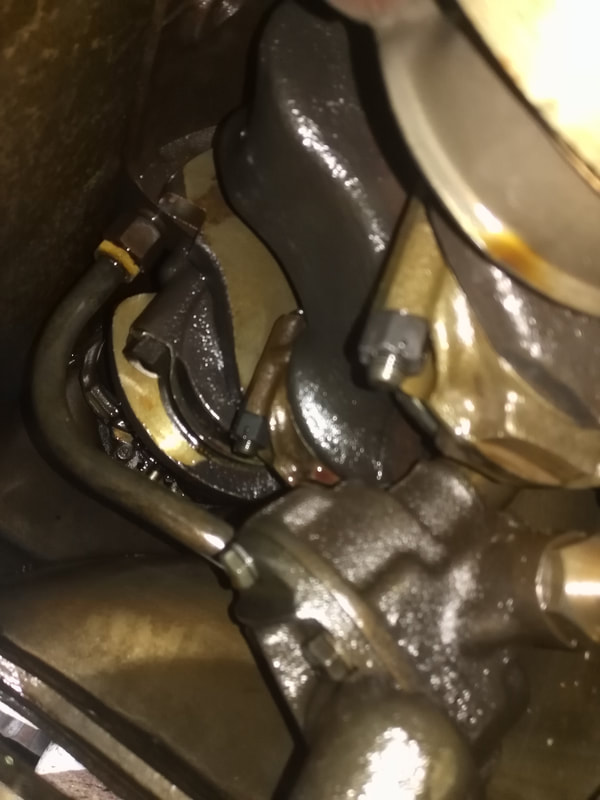
Not a productive day at all. A bolt had broken during the removal of the oil pan months ago. I thought some WD40 would resolve it. No luck! Drilled through the bolt remnant. Still no luck with the screw extractor. Applied more WD40 and will let it sit for a while longer. In the oil pan there is an oil line with a bit of an odd shape. One end will fit fine, but then the opposite will not. Or vice versa. After a frustrating hour and a half, I'm no further ahead then when I started. Will have to study the issue online.
Not a productive day at all. A bolt had broken during the removal of the oil pan months ago. I thought some WD40 would resolve it. No luck! Drilled through the bolt remnant. Still no luck with the screw extractor. Applied more WD40 and will let it sit for a while longer. In the oil pan there is an oil line with a bit of an odd shape. One end will fit fine, but then the opposite will not. Or vice versa. After a frustrating hour and a half, I'm no further ahead then when I started. Will have to study the issue online.
|
Thursday, 9 September
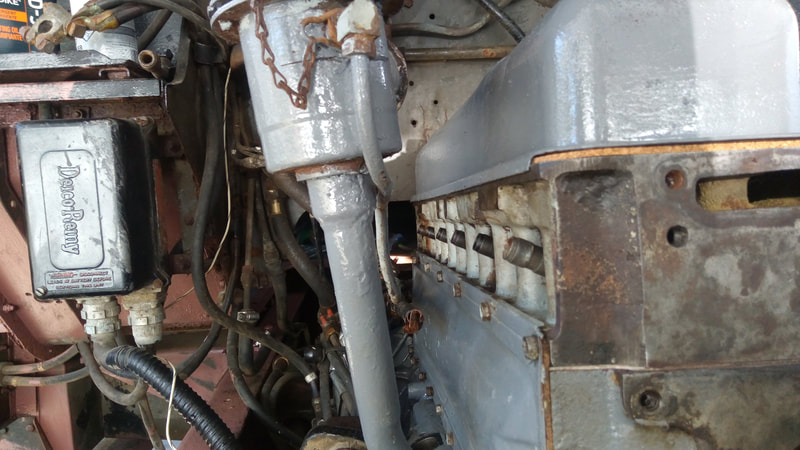
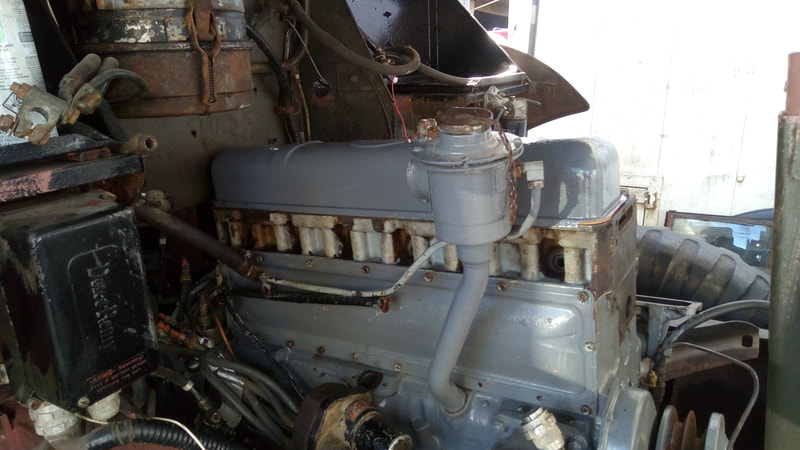
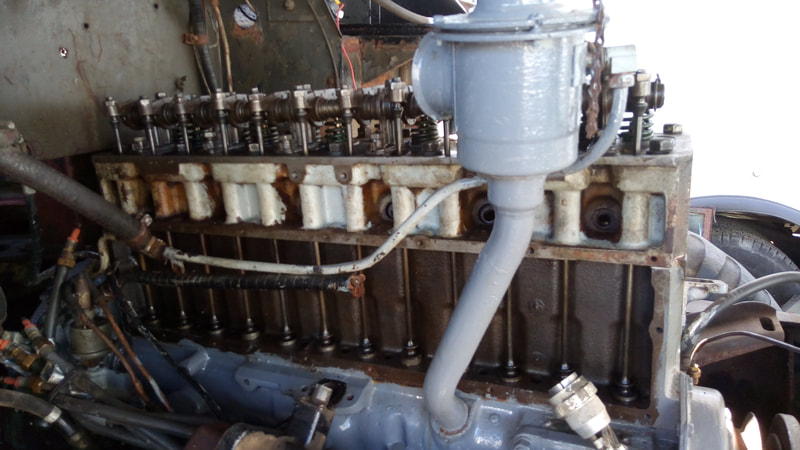
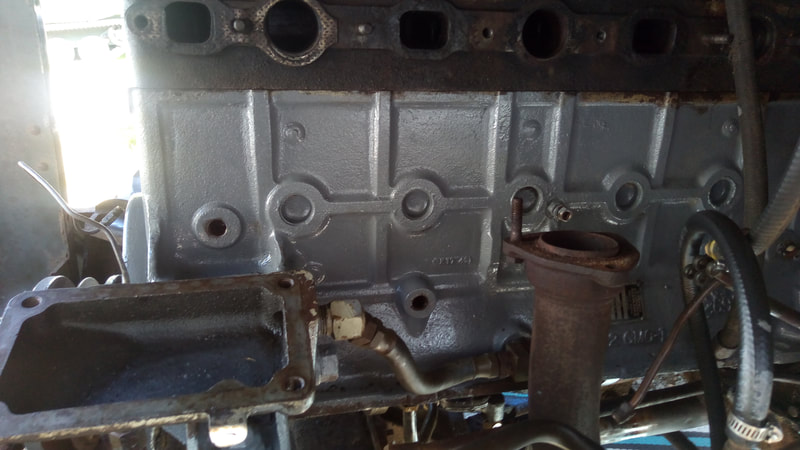
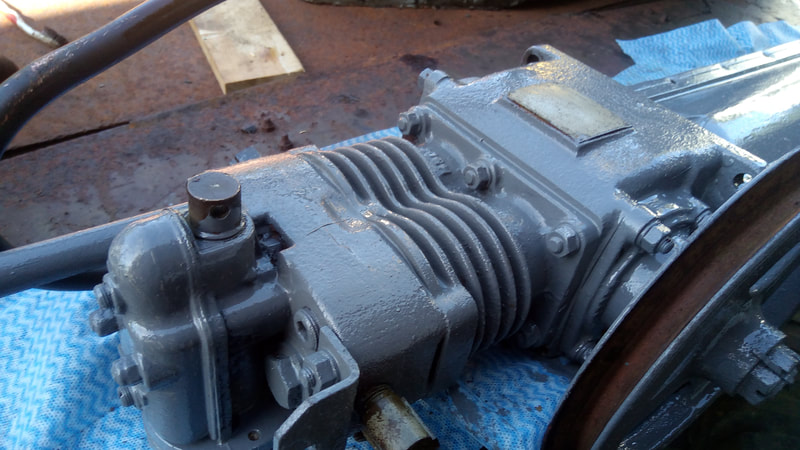
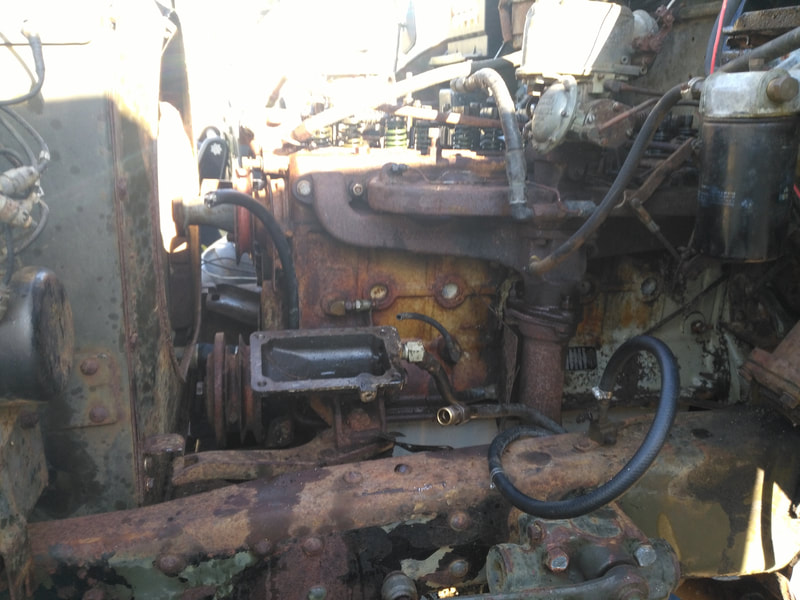
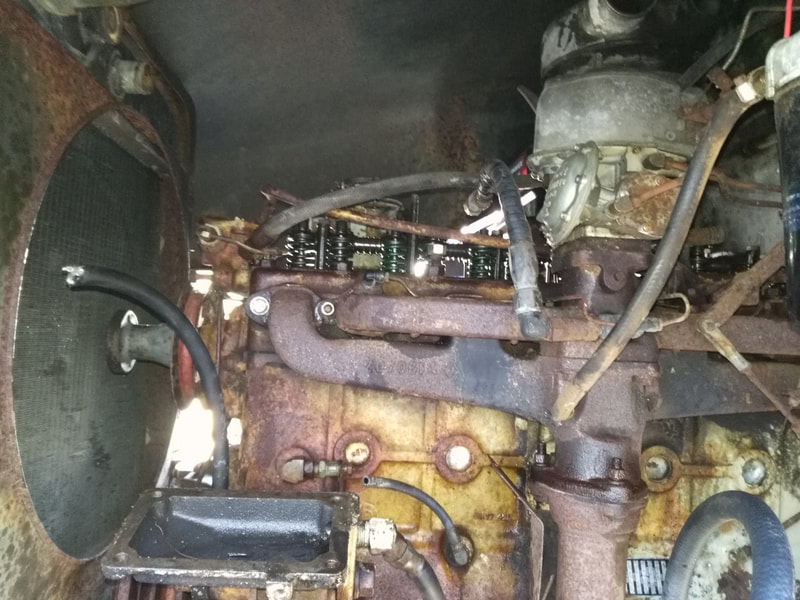
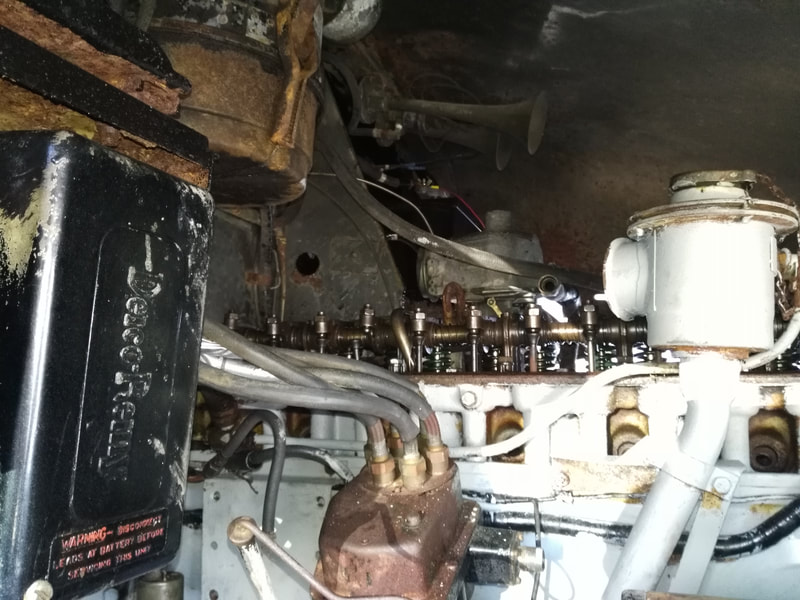
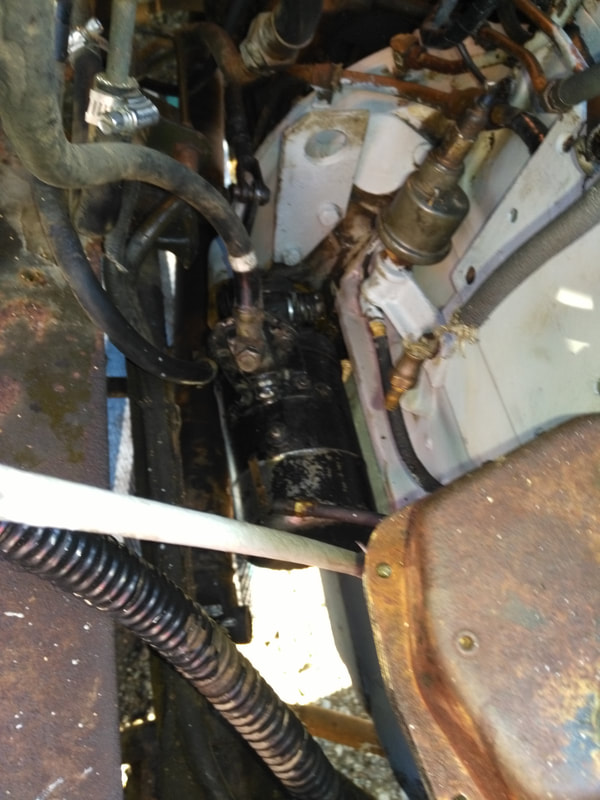
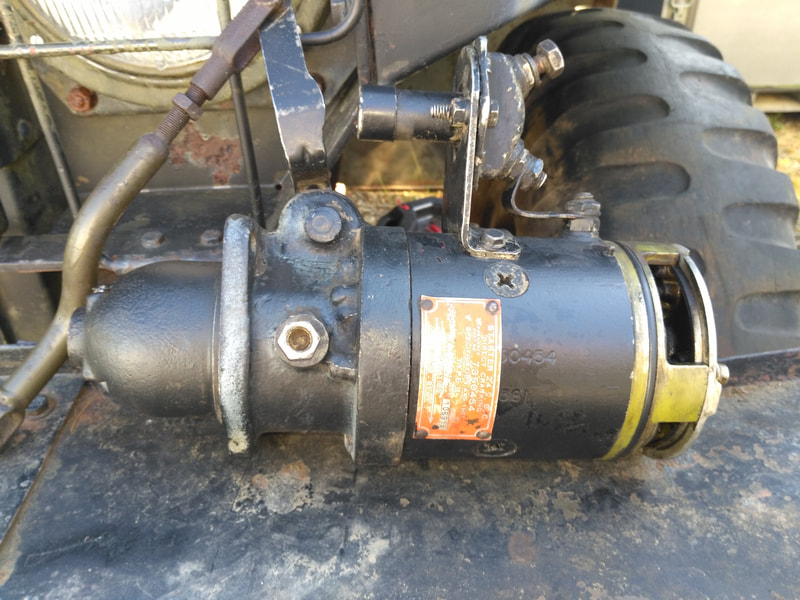
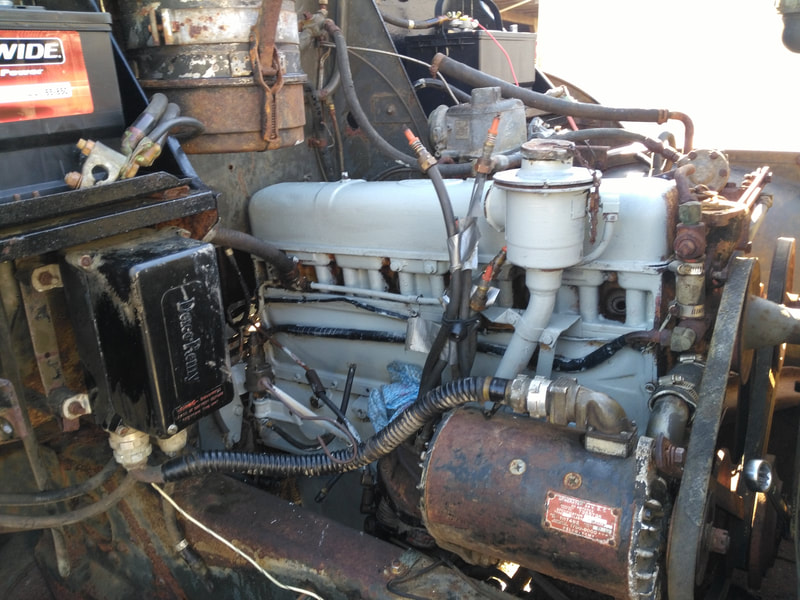
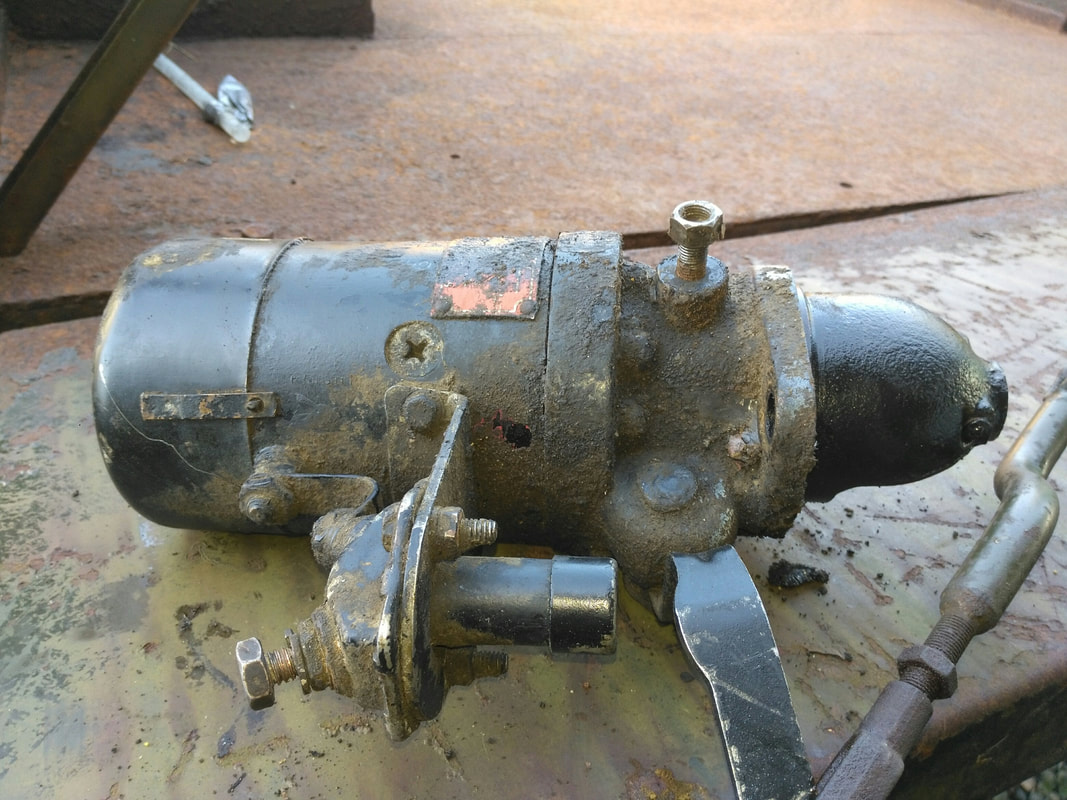
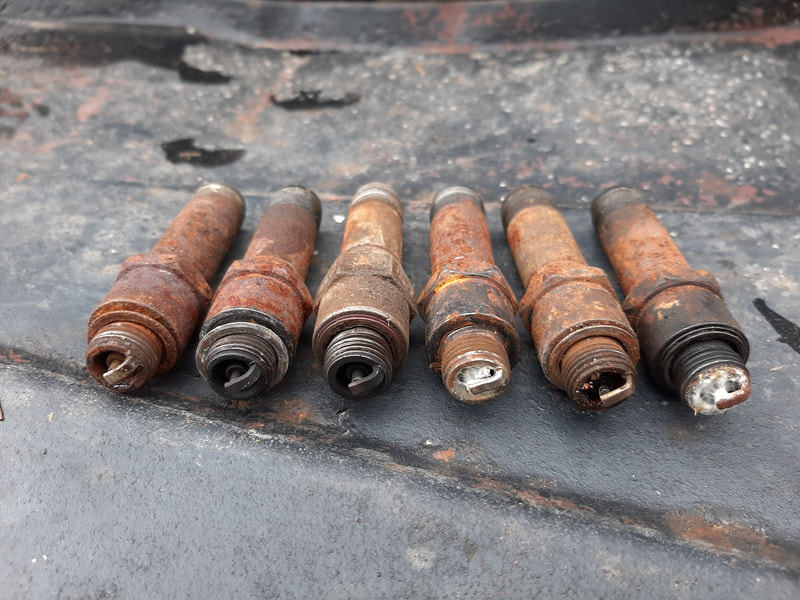
When's the last time that you adjusted your spark plug gaps? Has it really been 50 years? Yikes! Attached exhaust manifold. Dismantled starter motor, trimmed gasket and re-installed (sounds easier than it really was, one nut is in a really awkward position), painted fan blade and a couple of other brackets, scraped off old gaskets. |
Thursday, 2 September
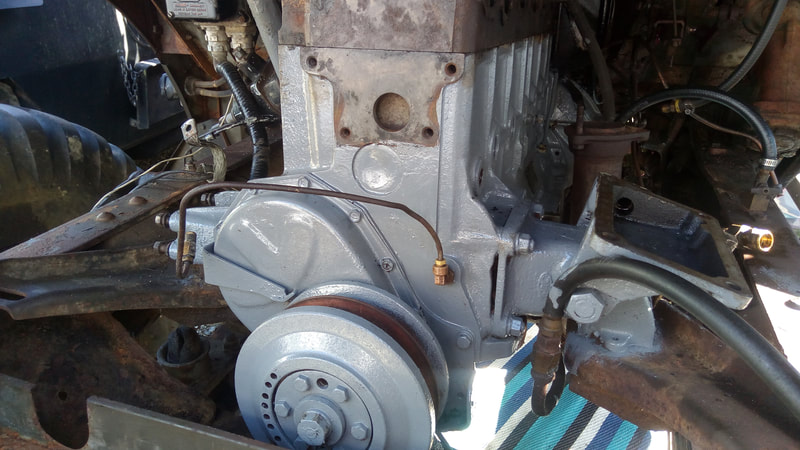
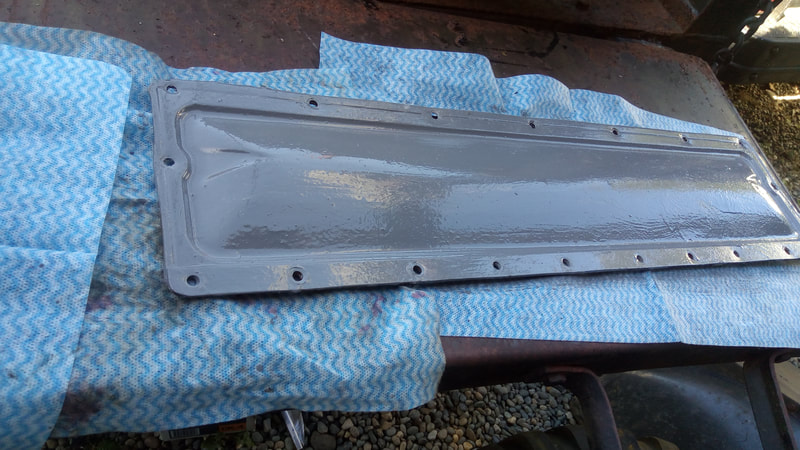
Cleaned and painted the oil pan. Once that was done, started cleaning and painting some rust areas underneath the vehicle. Not the cleanest job!
Cleaned and painted the oil pan. Once that was done, started cleaning and painting some rust areas underneath the vehicle. Not the cleanest job!
Wednesday, 1 September
Number 6 piston was the second worst piston. The top three pistons were all siezed and even after soaking in acetone/ATF for 3 weeks, there has been no noticeable difference. Carefully prying out the rings has broken them all. Fortunately, I have spares that, once trimmed, fit the grooves and the piston was finally installed after several hours of cleaning. All six connecting rods were torqued and the cranshaft, camshaft and pistons all work smoothly.
Number 6 piston was the second worst piston. The top three pistons were all siezed and even after soaking in acetone/ATF for 3 weeks, there has been no noticeable difference. Carefully prying out the rings has broken them all. Fortunately, I have spares that, once trimmed, fit the grooves and the piston was finally installed after several hours of cleaning. All six connecting rods were torqued and the cranshaft, camshaft and pistons all work smoothly.
Tuesday, 31 August
Number 5 piston is now installed! It certainly came with a few problems. This is a replacement cylinder from the spare engine set. It's not recommended to mix pistons but the original was in such bad condition that there was no other choice. The top piston ring was gummed up with burnt oil residue and broke several times as it was being removed. It had been soaked for two weeks in an ATF/Acetone bath and even had a heated/WD40 bath at the end. No luck! Could just be the rings were brittle but the pieces had to come out. The replacement piston ring is oversized. Good thing I checked on YouTube this morning so I came equipped with a Dremel set up to file it down to the correct size. It all seemed to work fine until the install. For some unknown reason, the oil ring would catch as it went down the cylinder. I must have tried 30 times and it was only with Andy's assistance that we discovered if we turned the piston ring compressor 90 degrees, the oil ring slid in smoothly. I also worked on # 6 piston which had all of its rings siezed as well. They've all been removed (in pieces) and the piston is soaking overnight in the ATF/Acetone bath for a final clean. Sure is nice to see 5 of the pistons moving!
Number 5 piston is now installed! It certainly came with a few problems. This is a replacement cylinder from the spare engine set. It's not recommended to mix pistons but the original was in such bad condition that there was no other choice. The top piston ring was gummed up with burnt oil residue and broke several times as it was being removed. It had been soaked for two weeks in an ATF/Acetone bath and even had a heated/WD40 bath at the end. No luck! Could just be the rings were brittle but the pieces had to come out. The replacement piston ring is oversized. Good thing I checked on YouTube this morning so I came equipped with a Dremel set up to file it down to the correct size. It all seemed to work fine until the install. For some unknown reason, the oil ring would catch as it went down the cylinder. I must have tried 30 times and it was only with Andy's assistance that we discovered if we turned the piston ring compressor 90 degrees, the oil ring slid in smoothly. I also worked on # 6 piston which had all of its rings siezed as well. They've all been removed (in pieces) and the piston is soaking overnight in the ATF/Acetone bath for a final clean. Sure is nice to see 5 of the pistons moving!
Monday, 30 August
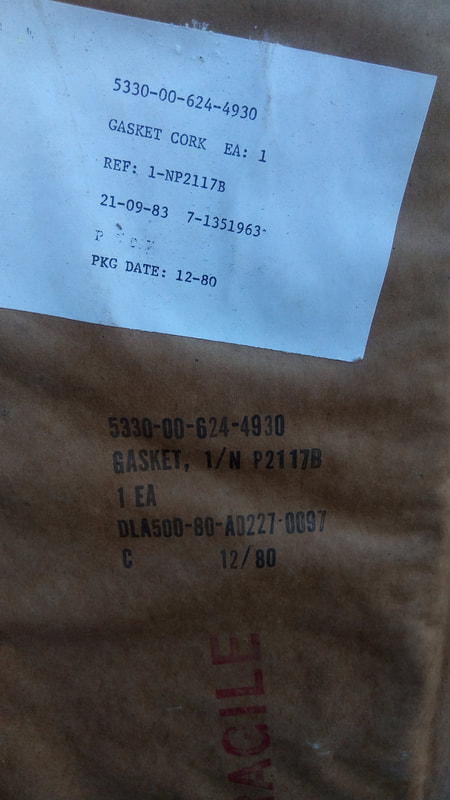
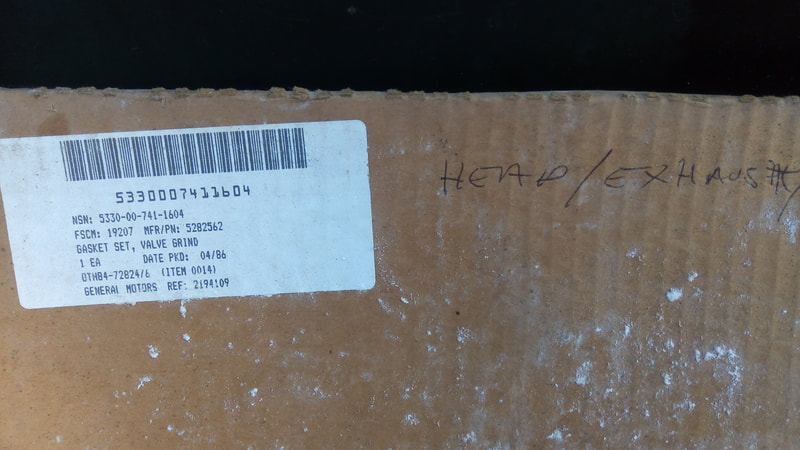
Number 3 piston is now installed. Don't know why it was such a problem on Saturday but it seemed to fit fine today. Number 5 caused more grief as the top ring was totally gummed up and it broke as I tried to remove it. All the others appear to be fine. Fortunately, I had also received quite a few spare parts with the two trucks. Just hadn't gotten around to seeing what I had. With the piston ring borken, now seemed to be a good time to check the boxes. Along with a list of gaskets, I found several bundles of piston rings! Different styles for each of the piston rings. Sure is nice to see 4 of the pistons moving!
Number 3 piston is now installed. Don't know why it was such a problem on Saturday but it seemed to fit fine today. Number 5 caused more grief as the top ring was totally gummed up and it broke as I tried to remove it. All the others appear to be fine. Fortunately, I had also received quite a few spare parts with the two trucks. Just hadn't gotten around to seeing what I had. With the piston ring borken, now seemed to be a good time to check the boxes. Along with a list of gaskets, I found several bundles of piston rings! Different styles for each of the piston rings. Sure is nice to see 4 of the pistons moving!
Saturday, 28 August
Honed each of the cylinders. First time I've ever done that. They all have a nice shiny cross hatch pattern, except for #5 and #6 which shows discoloring from the seized piston damage. Despite the discoloring, they both seem to have no other damage. Will have to wait until engine startup to see if they cause any problems. Installed #1, #2 and #4 pistons. No problems once I got the hang of it. Not bad considering that its something I've never done before. Sure is nice to start the assembly and see 3 of the pistons moving!
Honed each of the cylinders. First time I've ever done that. They all have a nice shiny cross hatch pattern, except for #5 and #6 which shows discoloring from the seized piston damage. Despite the discoloring, they both seem to have no other damage. Will have to wait until engine startup to see if they cause any problems. Installed #1, #2 and #4 pistons. No problems once I got the hang of it. Not bad considering that its something I've never done before. Sure is nice to start the assembly and see 3 of the pistons moving!
Friday, 27 August
This was going to be the piston afternoon! But, the IMS gang setting up for the Alder Fair was short a driver and there was this HMMWV that needed to be taken down. Well, that sounds like a fair trade for the free parking that we've gotten to date!
This was going to be the piston afternoon! But, the IMS gang setting up for the Alder Fair was short a driver and there was this HMMWV that needed to be taken down. Well, that sounds like a fair trade for the free parking that we've gotten to date!
Tuesday, 24 August 2021
I thought I fell a little behind on my updates but 3 months is ridiculous. There has been activity during that time and I'll try to fill in some of the blanks. In the meantime, the good news for today is that #5 piston has finally been removed! It took a lot of acetone/ATF and a final push with a jack from below. It resisted all the way until it popped free from the top. Examination of the piston indicates that it may have been seized for a considerable period of time. Large patches of burnt oil on one side may be a sign that the piston rings failed. Next step is to evaluate the cylinders. It looks like it needs to be honed and then we check tolerances. Any volunteers?
I thought I fell a little behind on my updates but 3 months is ridiculous. There has been activity during that time and I'll try to fill in some of the blanks. In the meantime, the good news for today is that #5 piston has finally been removed! It took a lot of acetone/ATF and a final push with a jack from below. It resisted all the way until it popped free from the top. Examination of the piston indicates that it may have been seized for a considerable period of time. Large patches of burnt oil on one side may be a sign that the piston rings failed. Next step is to evaluate the cylinders. It looks like it needs to be honed and then we check tolerances. Any volunteers?
|
Sunday, 23 May 2021
Used the Piston Pusher Model #2 (Patent Pending)! By ratcheting down #1 piston, I am able to move #5 piston upwards. Unfortunately, it requires considerable pressure to get it moving. Ratcheting #2 piston down, moves #5 down. It's still a tough piston to move. Do I have to continue ratcheting it up and down until it loosens up? |
Saturday, 22 May 2021
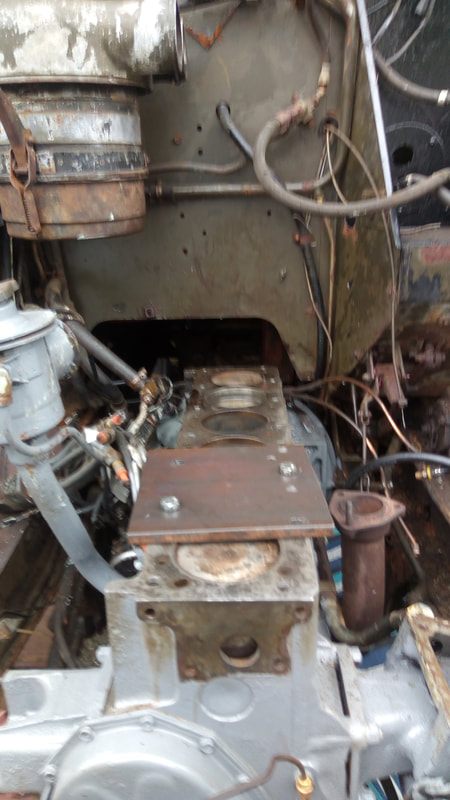
Constructed two jigs. Could have used a drill press but had to do with drilling 16 holes in 1/2" plate with hand held drill. There was some smoke....
Constructed two jigs. Could have used a drill press but had to do with drilling 16 holes in 1/2" plate with hand held drill. There was some smoke....
Friday, 21 May 2021
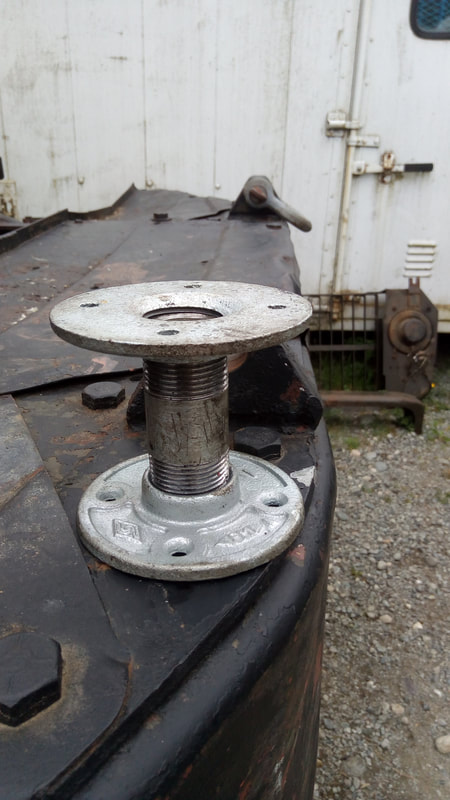
Hockey pucks and flange plates with a engine header balanced on top doesn't make for the best process. I have moved piston #5 down 2 1/2 inches but it's not easy. There has to be a better way. Maybe an 8" x 8" steel plate 1/2" thick with holes to match the engine block and a variety of flange pipe lengths and lengths of bolts. Hmmmm.... has possibilities. Bought the pipe lengths at the local hardware store. Who knew they were called nipples. Interesting conversation with young lady clerk about nipple lengths available .......
Hockey pucks and flange plates with a engine header balanced on top doesn't make for the best process. I have moved piston #5 down 2 1/2 inches but it's not easy. There has to be a better way. Maybe an 8" x 8" steel plate 1/2" thick with holes to match the engine block and a variety of flange pipe lengths and lengths of bolts. Hmmmm.... has possibilities. Bought the pipe lengths at the local hardware store. Who knew they were called nipples. Interesting conversation with young lady clerk about nipple lengths available .......
Wednesday, 19 May 2021
Hockey pucks! They're the right width and stackable.
Well, that didn't work as well as expected. Who knew that hockey pucks are almost as compressionable as plywood?
Concerned that the piston is still tightly seized even after moving it an inch. I suspect that it is scraping rust off the cylinder walls as it moves down but there is no apparent damage on the cylinder wall that is now exposed. Poured an acetone/ATF mix in and will let it sit overnight. The constant ratcheting of the head is turning out to be quite the upper arm workout.
Tuesday, 18 May 2021
No joy at first. It seems the pressure is simply compressing the wood which then rebounds when the pressure is removed, leaving no room for additional wood. Tried a sandwich with wood on the top and bottom and a 3/4" socket in the middle. WOW! It moved another half inch but I'm worried the open end of the socket is splitting the wood. Need something flat.
No joy at first. It seems the pressure is simply compressing the wood which then rebounds when the pressure is removed, leaving no room for additional wood. Tried a sandwich with wood on the top and bottom and a 3/4" socket in the middle. WOW! It moved another half inch but I'm worried the open end of the socket is splitting the wood. Need something flat.
Monday, 17 May 2021
Moovit did no better than the previous attempts with the WD 40 and the acetone/transmission fluid mix. Time to apply some additional pressure. Cut some 3/4" plywood to the piston/cylinder size. Stacked two of the plywood spacers on top of the piston. Placed the cylinder head back on top of the engine block. There was now a 1/2"+ gap due to the plywood spacers. Slowly started tightening the bolts until the gap disappeared. There was a crack noise that sounded like something gave way. Removed the cylinder head and it appeared that the piston head had moved down 1/16". There appeared to be no other damage. The plywood spacers had been compressed considerably. Placed a 1/4" plywood spacer and repeated the process. Over and over again. The piston has now moved down 1/2" . No noticeable damage on the cylinder wall yet. Filled up the 1/2" space with Moovit and we'll see what it looks like the next time. Progress at last!
Moovit did no better than the previous attempts with the WD 40 and the acetone/transmission fluid mix. Time to apply some additional pressure. Cut some 3/4" plywood to the piston/cylinder size. Stacked two of the plywood spacers on top of the piston. Placed the cylinder head back on top of the engine block. There was now a 1/2"+ gap due to the plywood spacers. Slowly started tightening the bolts until the gap disappeared. There was a crack noise that sounded like something gave way. Removed the cylinder head and it appeared that the piston head had moved down 1/16". There appeared to be no other damage. The plywood spacers had been compressed considerably. Placed a 1/4" plywood spacer and repeated the process. Over and over again. The piston has now moved down 1/2" . No noticeable damage on the cylinder wall yet. Filled up the 1/2" space with Moovit and we'll see what it looks like the next time. Progress at last!
|
Sunday, 16 May 2021
Trying out a new penetrating fluid, Moovit. Let's see if that works. While we're waiting, there's always some rusted pieces to wire brush and paint with rust resistant pant. I've chosen gloss grey for the engine to highlight the parts and retaining a dark green for the other parts. |
Wednesday, 12 May 2021
Still no movement with #5 piston. Need a new idea.... Removed the wood. Remaining 5 pistons move freely.
Still no movement with #5 piston. Need a new idea.... Removed the wood. Remaining 5 pistons move freely.
Friday, 7 May 2021
No movement
No movement
Thursday, 6 May 2021
Just a quick stop to check on #5 piston. No change. Tried a science experiment. Holding a can of air spray for keyboards upside down releases a stream of very, very cold air (apparently as low as -15C). Would this be sufficient to shrink the piston slightly; enough to allow it to move? Apparently not....Left the crankshaft jacked up under pressure again. If no movement, will remove the connecting rod bearing cap and insert a piece of wood directly to #5 piston and jack it up.
Just a quick stop to check on #5 piston. No change. Tried a science experiment. Holding a can of air spray for keyboards upside down releases a stream of very, very cold air (apparently as low as -15C). Would this be sufficient to shrink the piston slightly; enough to allow it to move? Apparently not....Left the crankshaft jacked up under pressure again. If no movement, will remove the connecting rod bearing cap and insert a piece of wood directly to #5 piston and jack it up.
Wednesday, 5 May 2021
No luck with piston #5. Applied some additional rust free spray and placed a jack under the #6 piston. With the weight of the front end, I'm hoping the penetrant will lossen it enough for it to pop up #6 which should drive down #5. I've been told to be patient and give it time. Another option is to look into super cooling the piston so that the metal contracts and allows increased room. Either that or heat up the engine block. Any other ideas out there?
No luck with piston #5. Applied some additional rust free spray and placed a jack under the #6 piston. With the weight of the front end, I'm hoping the penetrant will lossen it enough for it to pop up #6 which should drive down #5. I've been told to be patient and give it time. Another option is to look into super cooling the piston so that the metal contracts and allows increased room. Either that or heat up the engine block. Any other ideas out there?
Tuesday, 4 May 2021
THEY MOVED! All of the connecting rods were loosened and found to be free of rust. The two suspect pistons (#5 and #6) were disconnected and the crankshaft moved the other four! (#1 to #4). #6 was reconnected and moved. That leaves #5 as the only piston that is stuck. Next work session will focus on that one!
THEY MOVED! All of the connecting rods were loosened and found to be free of rust. The two suspect pistons (#5 and #6) were disconnected and the crankshaft moved the other four! (#1 to #4). #6 was reconnected and moved. That leaves #5 as the only piston that is stuck. Next work session will focus on that one!
Saturday, 1 May 2021
The weather was better than expected today. Radiator and oil pan removed. No apparent defects yet, but still no movement. Discussion is that several of the pistons may be lightly rusted in place but if I was to disconnect each connecting rod and bang them upwards one at a time, I may be able to find out which ones are causing the stoppage.
The weather was better than expected today. Radiator and oil pan removed. No apparent defects yet, but still no movement. Discussion is that several of the pistons may be lightly rusted in place but if I was to disconnect each connecting rod and bang them upwards one at a time, I may be able to find out which ones are causing the stoppage.
Thursday, 29 April 2021
Finally, a dry day with no chance of rain! Took a 2 pound sledge and a block of wood to each of the cylinders......No luck! The engine is still seized up. Looking online, if I had the engine removed and on an engine stand, I could swivel it upside down and easily remove the oil pan in order to check out the crankshaft bearings. Having the engine still mounted removes the word easily. Unfortunately, it looks like the weather has turned nasty for the next week.
Finally, a dry day with no chance of rain! Took a 2 pound sledge and a block of wood to each of the cylinders......No luck! The engine is still seized up. Looking online, if I had the engine removed and on an engine stand, I could swivel it upside down and easily remove the oil pan in order to check out the crankshaft bearings. Having the engine still mounted removes the word easily. Unfortunately, it looks like the weather has turned nasty for the next week.
Friday, 23 April 2021
Still not turning. Used emery cloth on the 6th cylinder to remove the rust in the cylinder. Poured acetone/ATF mixture in all cylinders again. One valve was seized open but a slight tap with a hammer and it closed shut. Poured acetone/ATF mixture on all valves. Now researching next step in unseizing engine. This could be as simple as a block of wood or hammering with a steel pipe. Stay tuned. Probably Sunday if the sunny weather returns.
Still not turning. Used emery cloth on the 6th cylinder to remove the rust in the cylinder. Poured acetone/ATF mixture in all cylinders again. One valve was seized open but a slight tap with a hammer and it closed shut. Poured acetone/ATF mixture on all valves. Now researching next step in unseizing engine. This could be as simple as a block of wood or hammering with a steel pipe. Stay tuned. Probably Sunday if the sunny weather returns.
Thursday, 22 April 2021
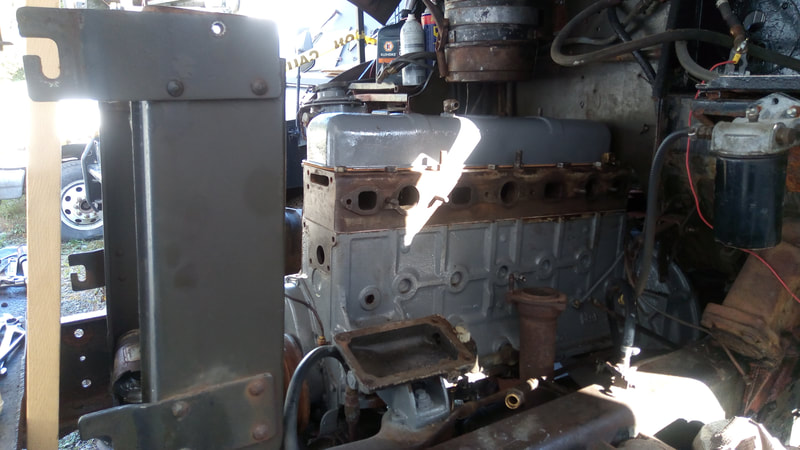
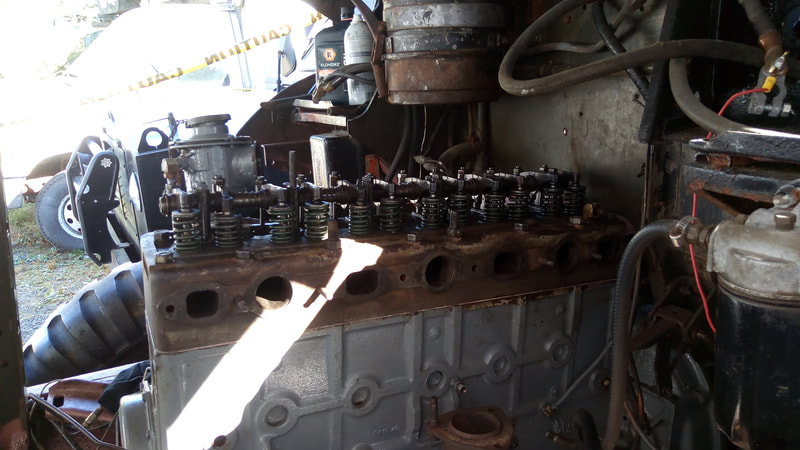
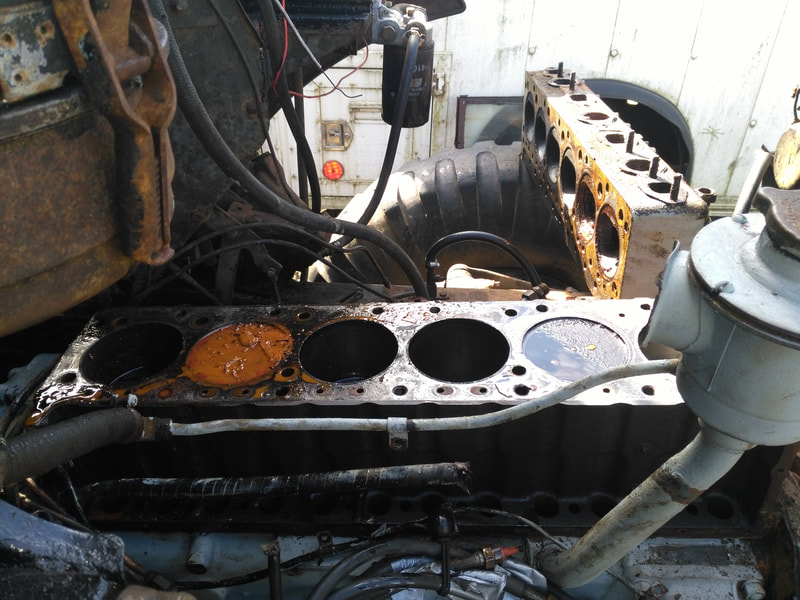
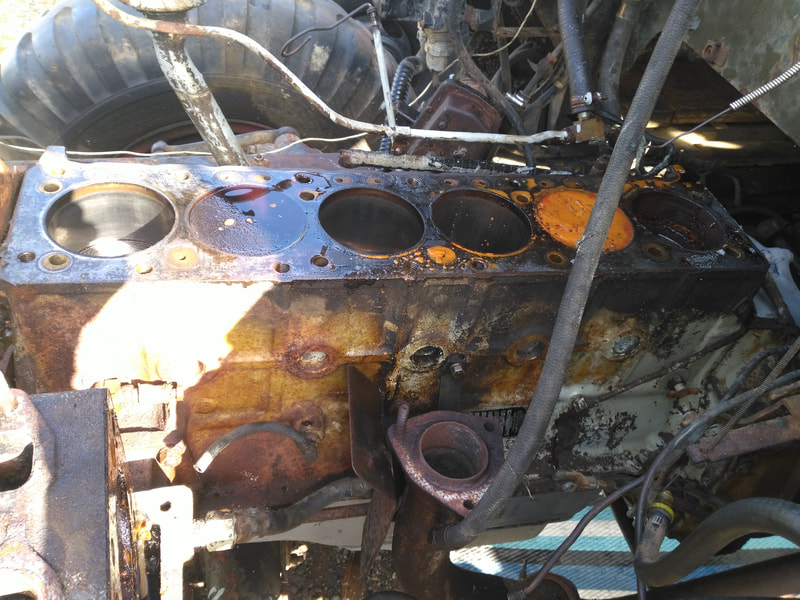
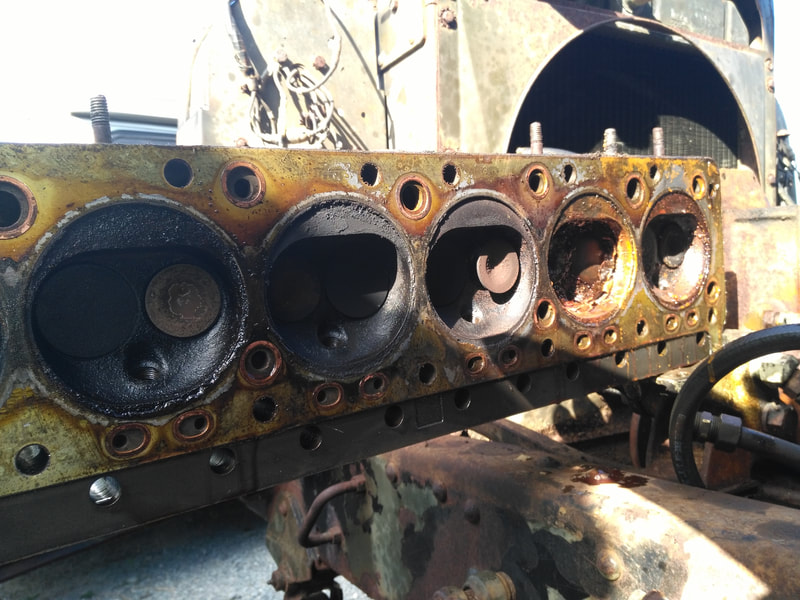
The head has been removed and shows some of the damage caused by the engine not turning over for years. First 4 cylinders appear fine; the 5th cylinder has a considerable amount of oily rust (possibly due to the acetone/ATF mixture poured in) and the 6th cylinder has some rust on the cylinder wall which I'll work on with some emery cloth. Need some more acetone and we'll have another go at soaking each cylinder.
The head has been removed and shows some of the damage caused by the engine not turning over for years. First 4 cylinders appear fine; the 5th cylinder has a considerable amount of oily rust (possibly due to the acetone/ATF mixture poured in) and the 6th cylinder has some rust on the cylinder wall which I'll work on with some emery cloth. Need some more acetone and we'll have another go at soaking each cylinder.
|
Wednesday, 21 April 2021
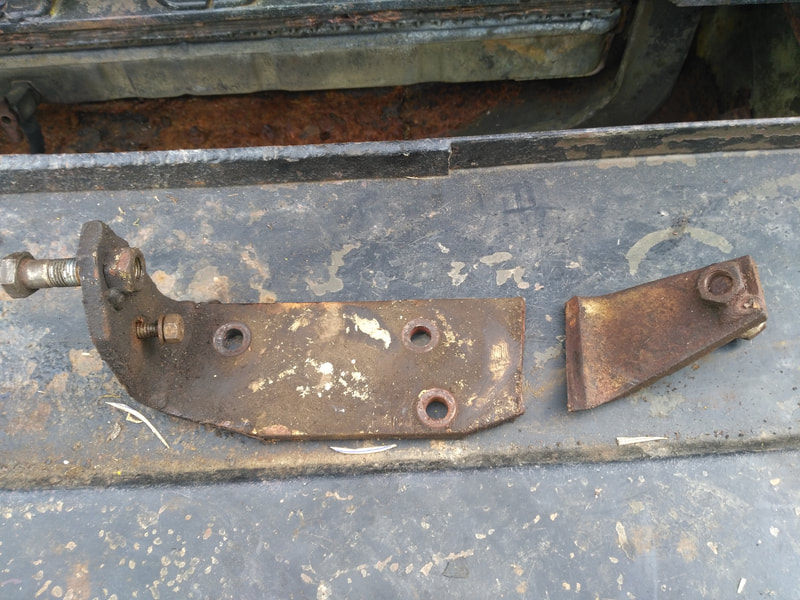
Generator removed. Discovered the bracket was broken. Will have to have it welded before re-installing. Side panel removed and shows some push rods with a slight coating of rust. I'm thinking some moisture has gotten into the block and has caused some rust on the cylinder walls. If the weather holds, I should get the head off tomorrow. |
|
Monday, 19 April 2021
Hooked up the starter with jumper cables to the battery. It worked like a charm!. Reinstalled the starter back into the deuce. No luck. The engine is still seized. I've already tried pouring an ATF / acetone mixture into the cylinders with no change. It's now time to start dismantling the complete engine. The left fender has now joined the right fender and we'll starting working our way down. |
|
Tuesday, 6 April 2021
This weather is ridiculous! When will Spring finally arrive? Finally spent some time today and pulled off the right front fender to gain some room and reach down to the starter motor. The fender removal was easy (Well, kinda easy. There were those two rusted bolts, but once they broke, the rest was easy). Without the fender, one can get right close up to the engine. There's quite a few meetings over the next week so it might well be good, sunny weather by the time I can get back to some more dismantling. |
Wednesday, 31 March 2021
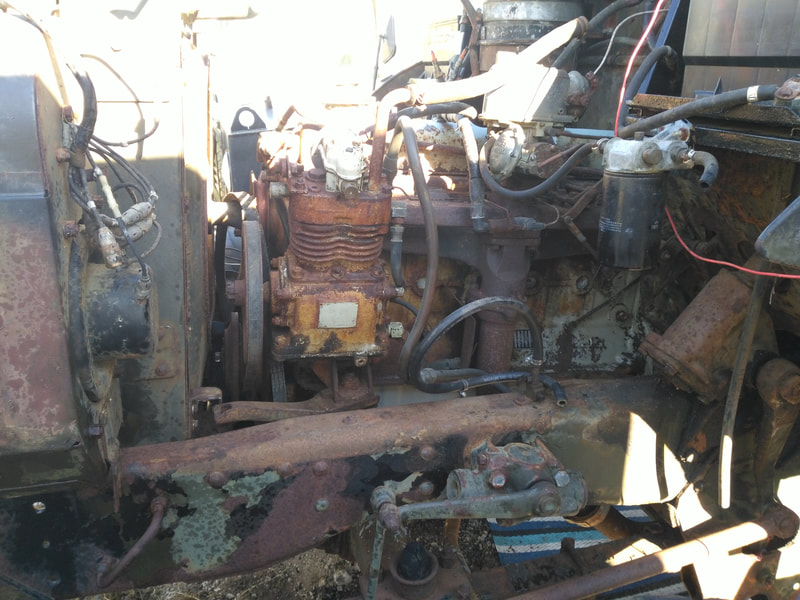
It's time to start dismantling the engine in order to find the issue preventing it from turning over. Lack of an engine stand prevents pulling the entire engine out for easy access. Will have to resort to working on it mounted in the frame. Drained partial antifreeze. Found additional grease nipples. Fan removed. Waterlines removed.
It's time to start dismantling the engine in order to find the issue preventing it from turning over. Lack of an engine stand prevents pulling the entire engine out for easy access. Will have to resort to working on it mounted in the frame. Drained partial antifreeze. Found additional grease nipples. Fan removed. Waterlines removed.
Tuesday, 30 March 2021
It's been a terrible weather week with either rain or the imminent threat of rain. Finally got an hour work in today and completed the reassembly of the transmission tower. The selector now flows through both sides smoothly. Engine still not turning over.
It's been a terrible weather week with either rain or the imminent threat of rain. Finally got an hour work in today and completed the reassembly of the transmission tower. The selector now flows through both sides smoothly. Engine still not turning over.
Wednesday, 17 March 2021 - Re-assembled most of the transmission tower. Just some final bolts and it will be complete. Rather interesting when I tried the starter before reinstalling the tower, there was a whir sound, as if the starter would not engage. Once the tower is reconnected, it's gone back to a simple clunk. Sounds like I need to take the head off and see what it looks like.
Monday, 15 March 2021 - Clevis pin is rusted an prevents the reduction unit idler lever from moving. After considerable effort, the idler finally moves freely but the clevis pin is still stuck. Fresh batteries purchased and installed (you can only borrow batteries for so long!) Still no luck turning the engine over. Experienced advise tells me that it took 7 months for the acetone + ATF mixture to work on his engine. His only suggestion to speed up the process is to strip the block apart, which can't be done while mounted in the vehicle. Do I dare pull the engine out?
Saturday, 13 March 2021 - Tried out sand blasting with inexpensive walnut system. The set up is inefficient. Not powerful enough and leaves quite the residue. painted driveshaft with sample red oxide primer. Purchased grease gun and found a half dozen nipples that had not seen grease for a lengthy period. Removed transmission tower and disassembled except for one clevis pin that appears to be rusted in place. Overnight WD40 may do the trick. Grey primer appears to be close match to engine colour.
Thursday, 11 March 2021 - Filled transmission with 10 litres 10W oil. Removed sparkplugs and poured in some additional acetone + automatic transmission fluid mixture. Reconnected battery and tried to turnover. There is some clicking as if the starter is trying to turn over the engine. Worked on dismantling the transmission tower in the cab. The intent is to remove it for a thorough cleaning, painting and reassembly. Some disconnection of the assemblies underneath which indicate more cleaning is required. Also found several grease nipple points. Will have to purchase a grease gun and get onto those. Anyone want to browse through the reference pdfs below and come up with a simple to follow greasing plan?
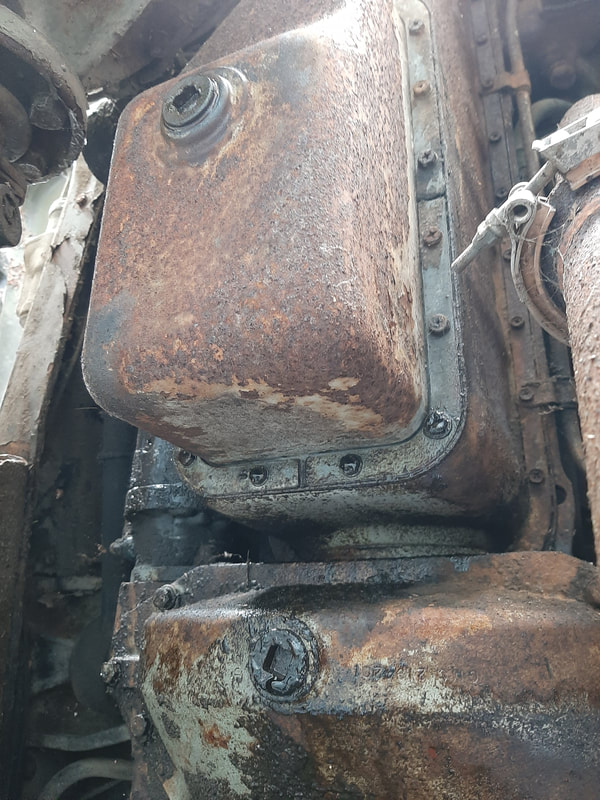
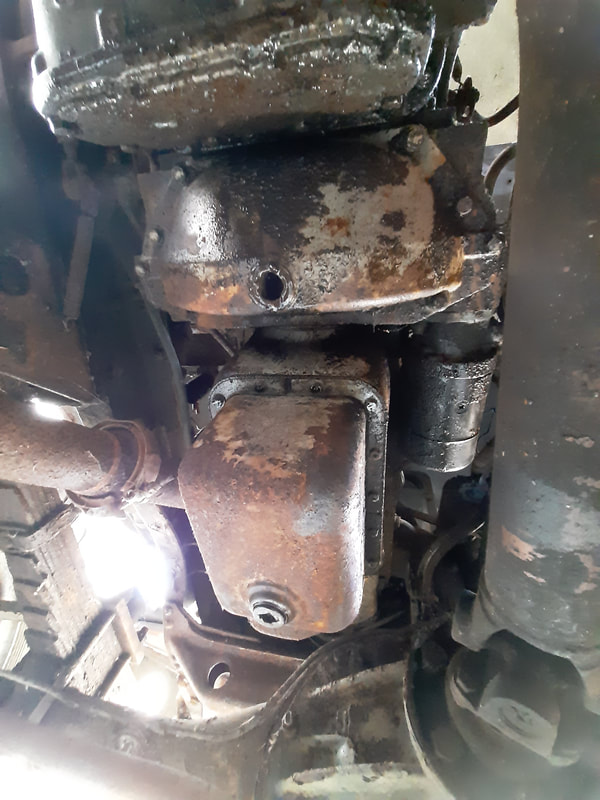
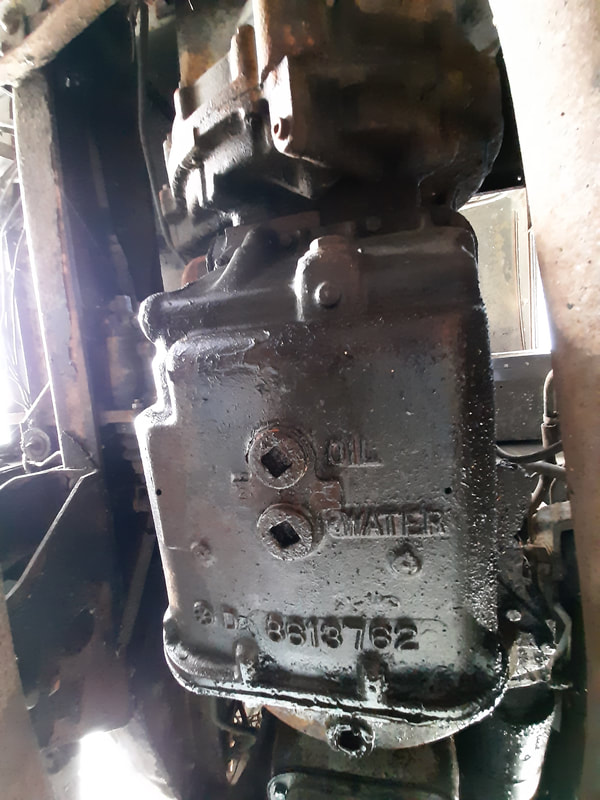
Monday, 8 March 2021 - Drained the plug marked oil. Turns out this is the transmission fluid. It was rather dark in colour. Replaced with fresh 10W oil. The plug marked water turns out to be connected to the radiator. it appears in good condition. Topped off radiator with fresh anti freeze to replace amount lost due to removing the plug. Engine still not turning over. Need to access a pressure washer to remove some of the grime and examine starter motor. In the meantime, I worked on the doors. Passenger inset panel was removed and significant quantities of WD40 were applied. Window can now roll down. Driver inset panel bolts rusted tight. Will let WD40 sit overnight. Removed drivers front window which is severely cracked and frame rusted. More WD40 and will let sit overnight.
|
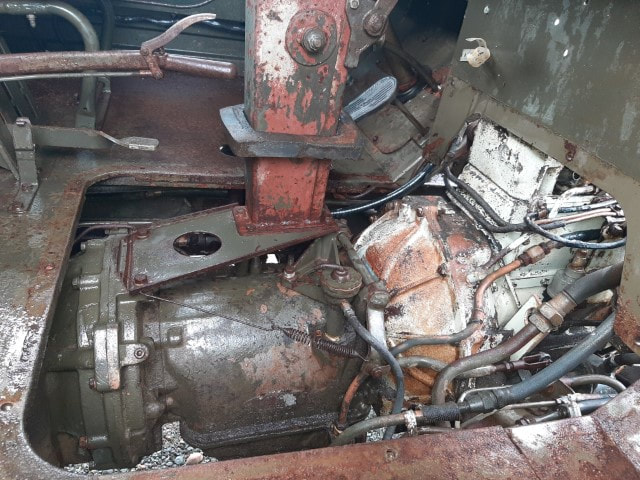
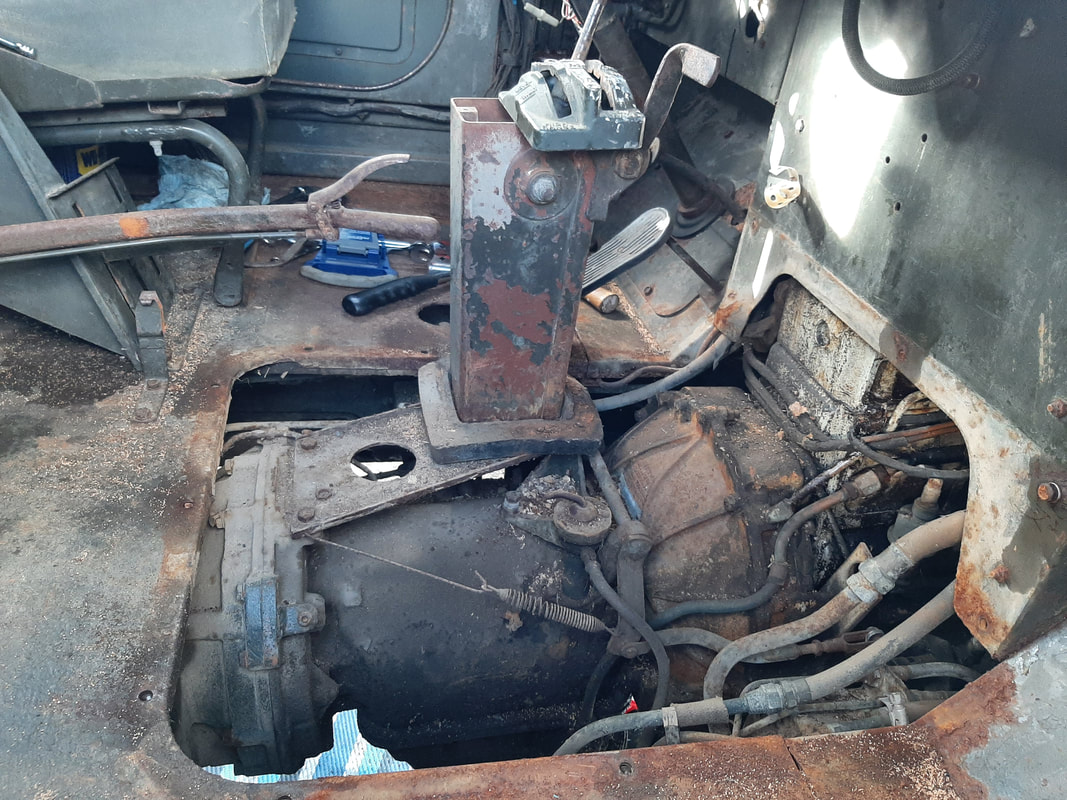
Saturday, 6 March 2021 - Got lucky with the weather! Removed the 14 bolts that attached the cab front floor pan to cab floor (TM9-8024 part 3, page 363, section 203). Well, it didn't quite go that easily. One bolt broke off and 1 bolt simply spun and the metal needed to be ripped slightly to get it off. I then attempted to disconnect the transmission shift lever trunnion but was unable to align figure 199 with what I was looking at with the floor pan removed. Hopefully someone can find it in the attached photo and help me along.
|
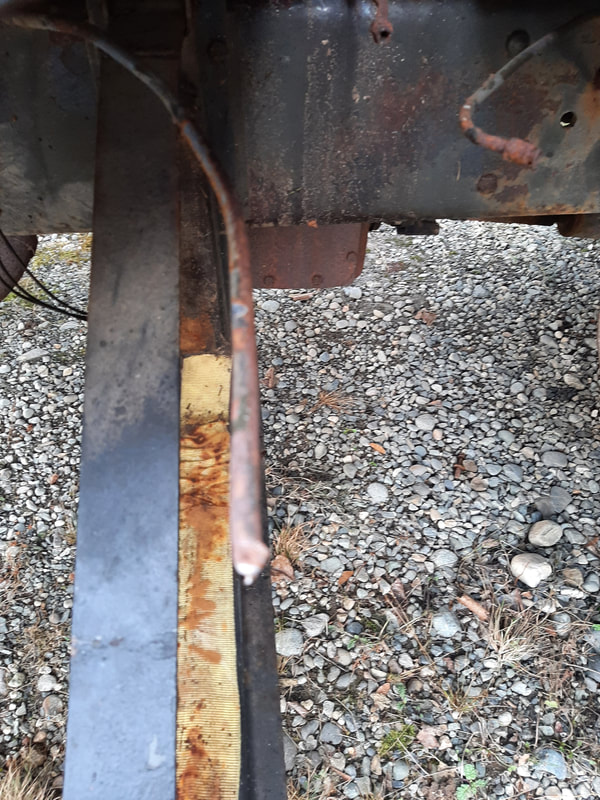
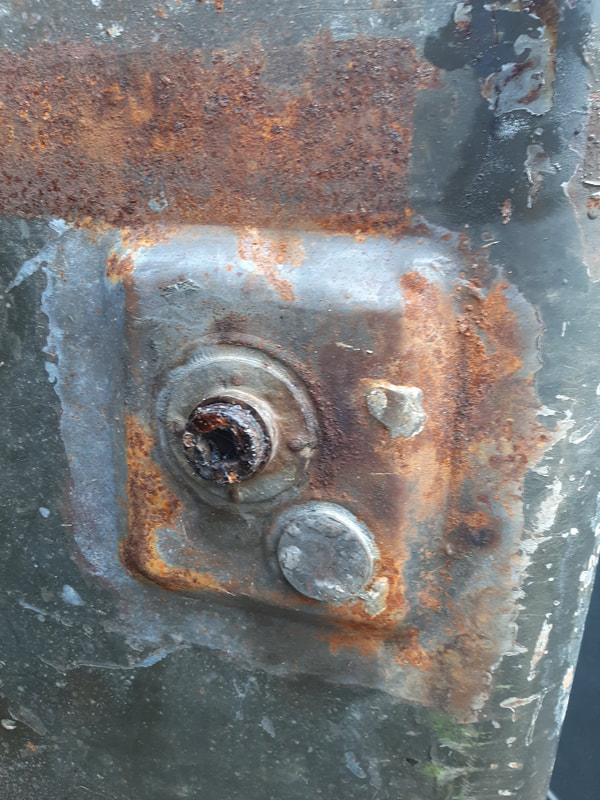
The reason that I'm working on the transmission is that it is rather tight to move the gearshift lever. With the difficulty in finding the shift lever trunnion, I decided to drain the transmission fluid and see if that frees up the shift lever. The first photo below shows the engine oil pan on the top and what I thought was the transmission fluid below it. However, it appeared to be congealed heavy oil that came out and the transmission dipstick showed no change. What did I drain? The next reservoir under the vehicle to the rear shows two filler nuts, one marked water and one marked oil. What is this reservoir? It's a long way from the radiator to be water......
Monday, 1 March 2021 - Cloudy day, other commitments. 10W and 30W oil have been purchased, old batteries taking a charge, radiator cap unscrewed, WD40 used liberally, examined exhaust - will require replacement, need plug wrench for oil change.
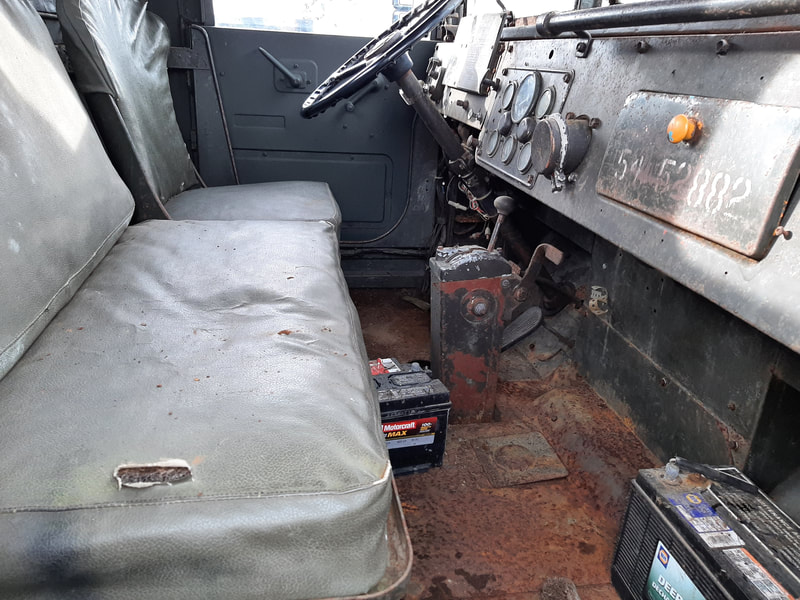
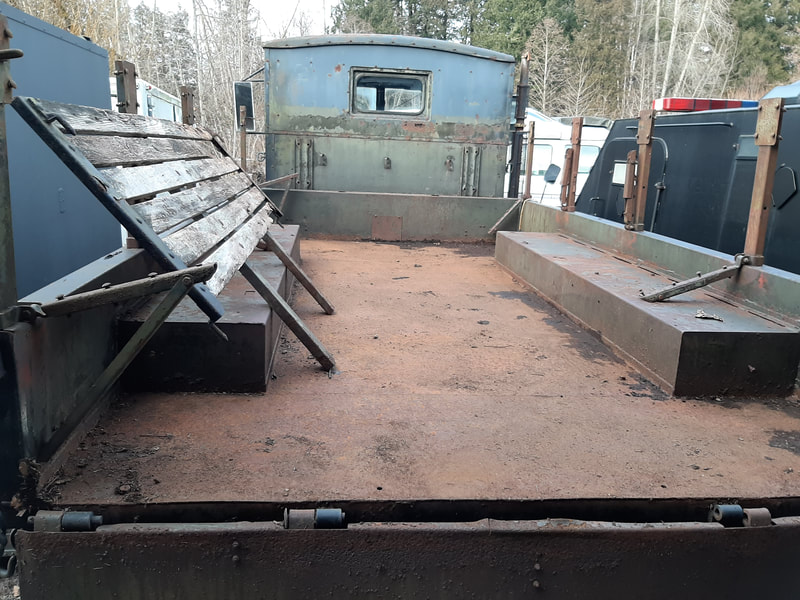
Tuesday, 23 February 2021 - A first view of the vehicle shows the rust in the cab and the cargo bed. Question here is how to best handle this? A scrape and a vacuum followed by brushed on primer and then a final coat of olive drab green? Or just go with the OD as future scratches would allow the primer to show through?
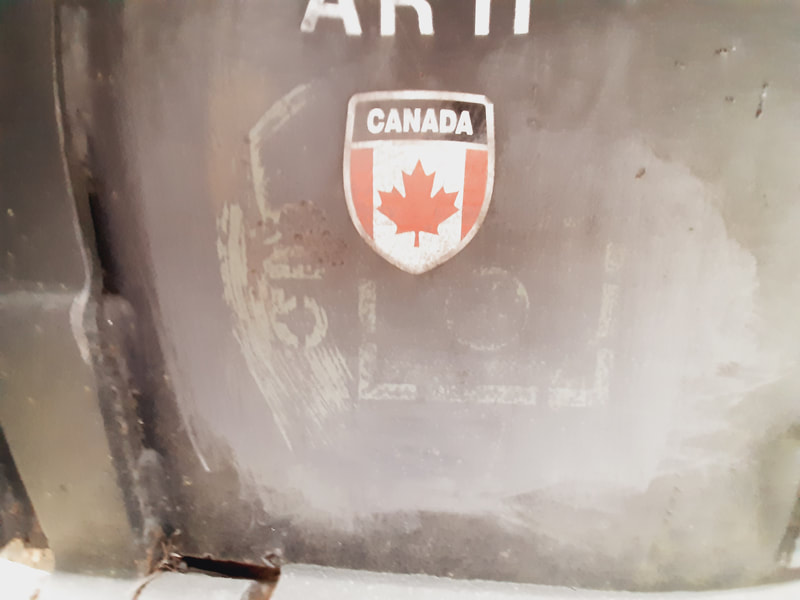
Another view of the rust in the cab. With a little sandpaper we have the tac sign revealed on the tailgate. Our Deuce has artillery heritage! No after pictures but the cab has been vacuumed and wiped down (can't really call it washed as its a long way from being clean). WD40 has been liberally applied to the door and windshield hardware.
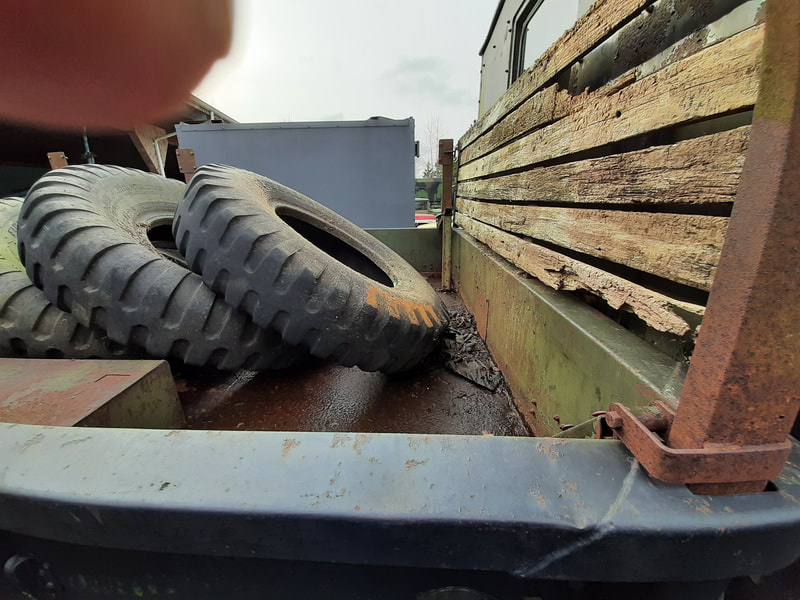
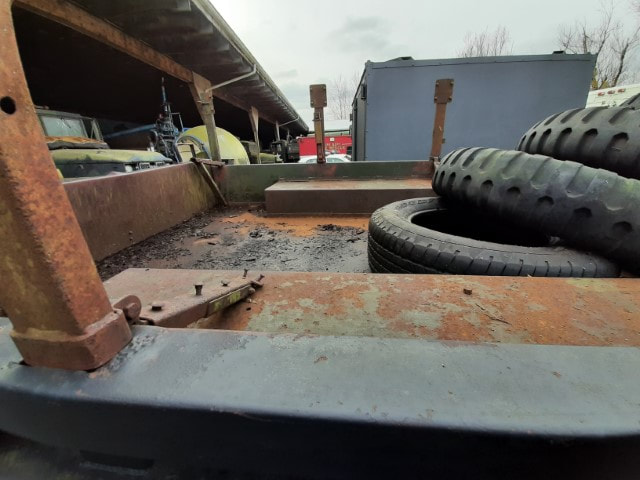
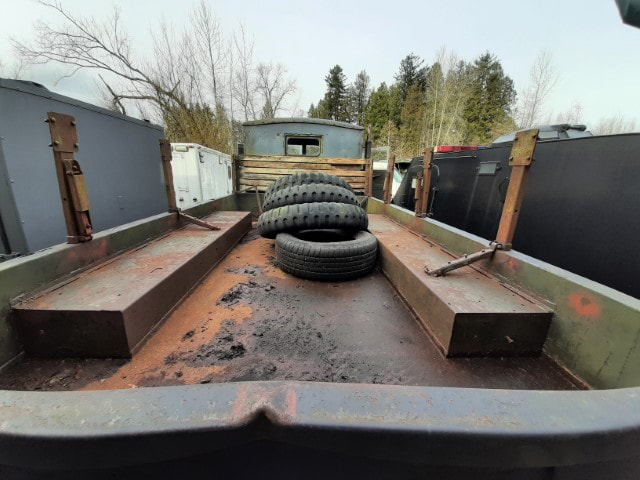
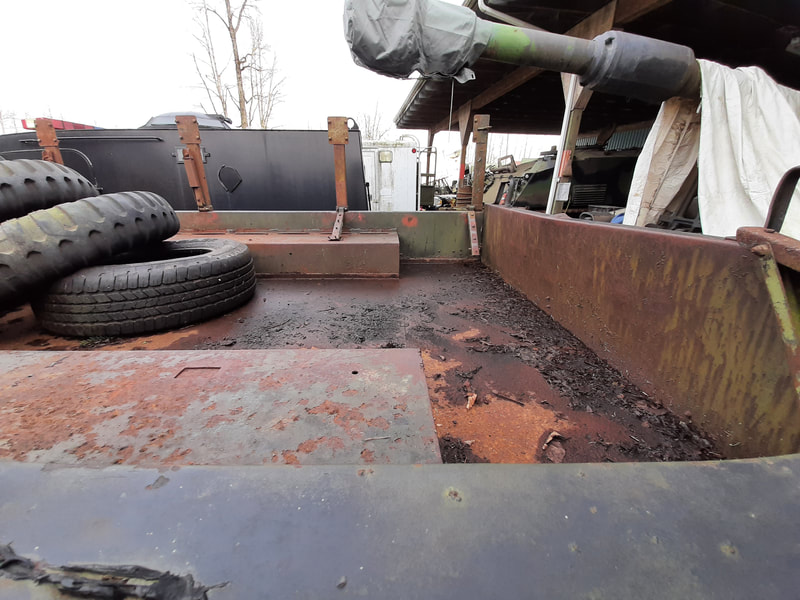
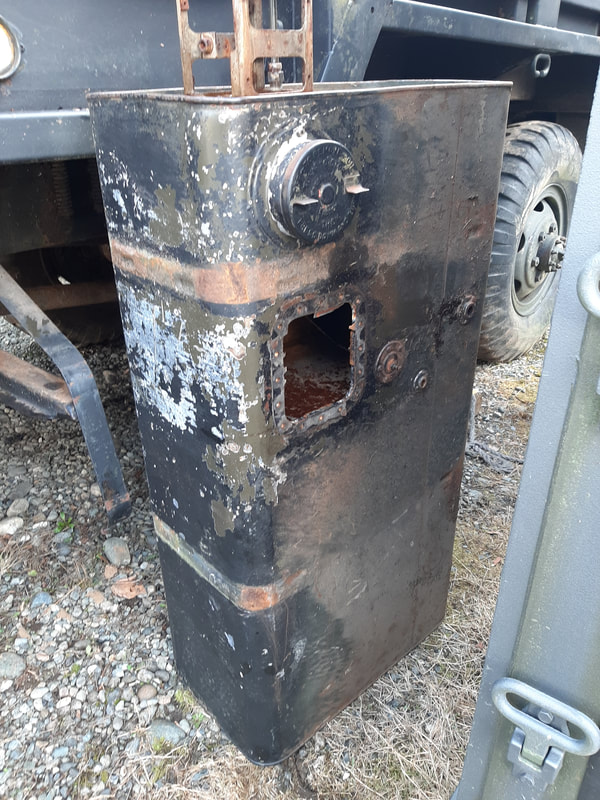
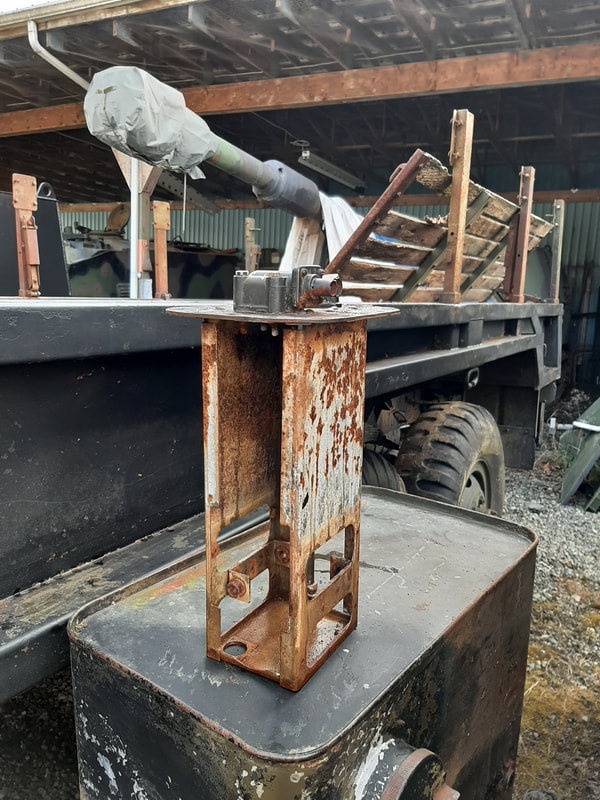
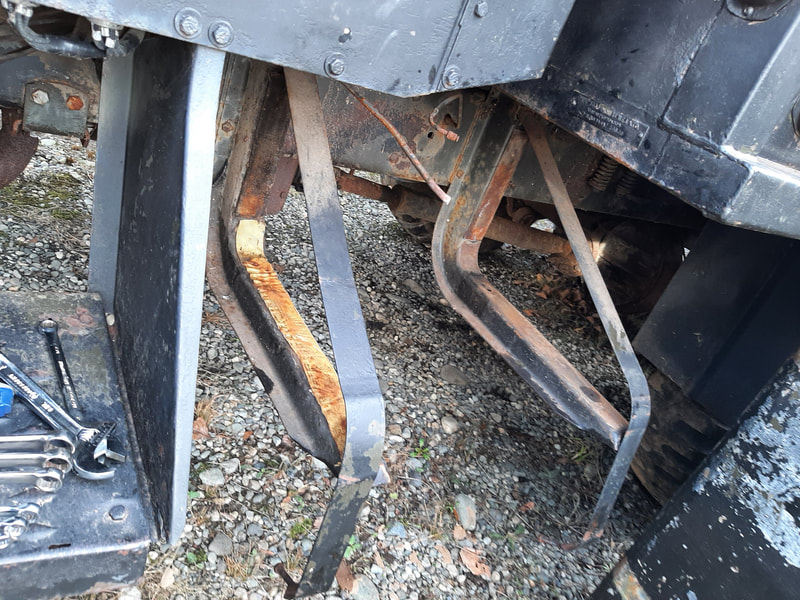
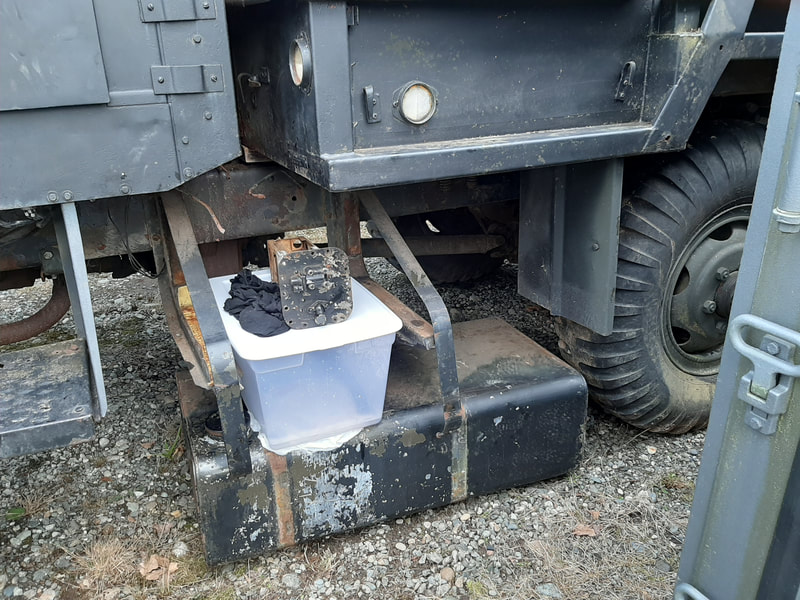
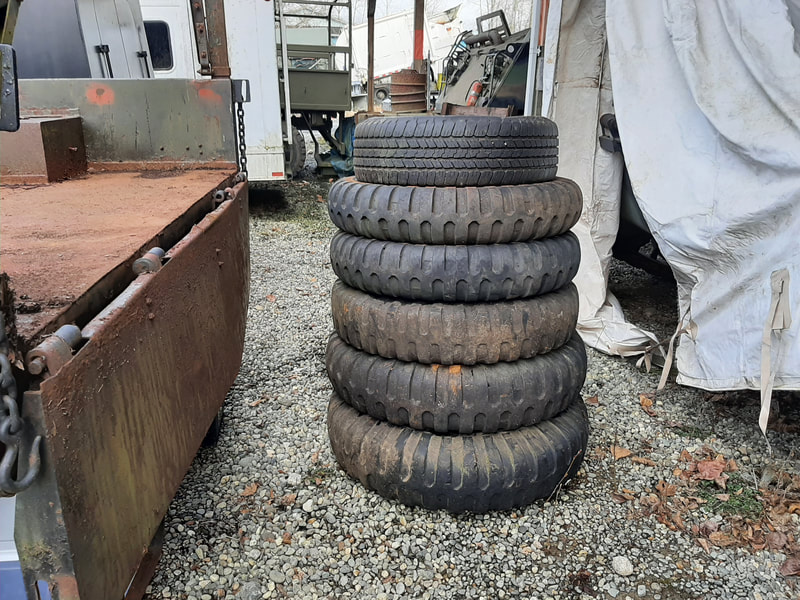
The gas tank has been removed. It was a fairly easy job except the gas line became twisted in the process. The gas pump assembly has been removed and we'll have to figure out if it's repairable. The gas tank has some rust on the interior and will have to be sent out for recoating or we can look for a DIY fix. The tires have been removed from the truck bed and the leaf residue has been swept up. Currently sourcing the specs for the wood seats and also for the proper OD paint colour. The vehicle also came with a mismatched set of batteries. One seems to be taking a charge and may be the interim power until I can find a proper set.
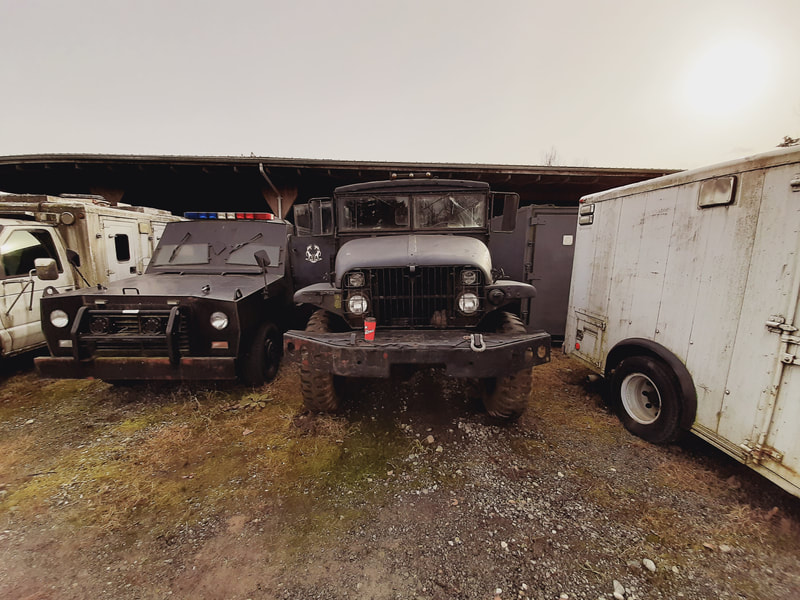
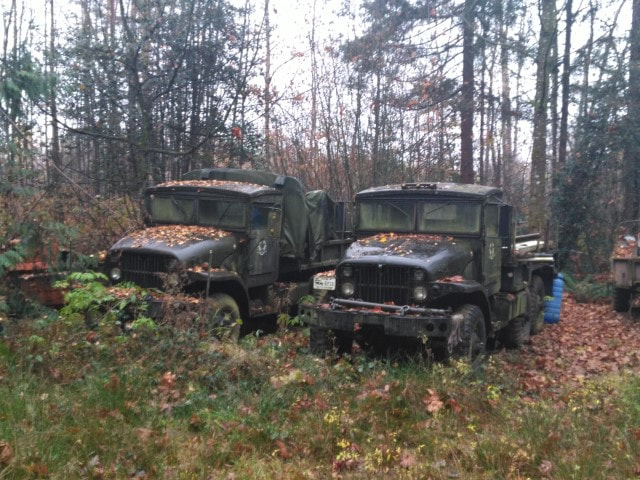
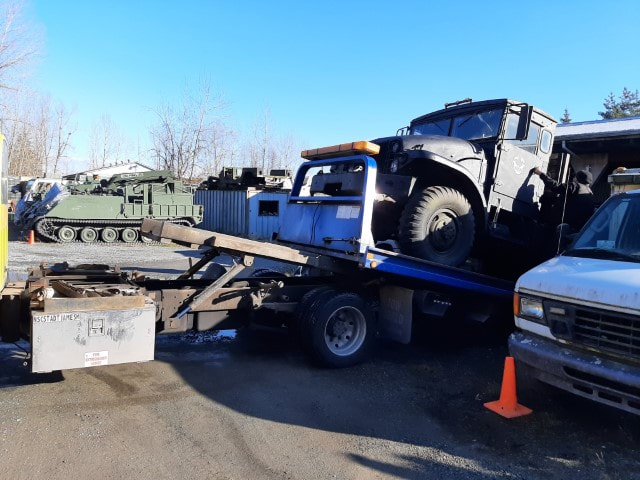
Sunday, 21 February 2021 - The M211 and M135 Deuce and a halves as they sat on the owners property. This photo is actually from one and a half years ago when the offer was first made in the fall of 2019. First winter and then COVID put a crimp in the plans to work on them last summer. The centre is after a power wash on Sunday 21 February 2021 to remove the accumulated green winter mold and then a tow over to Ian Newby's yard on Tuesday the 23rd.
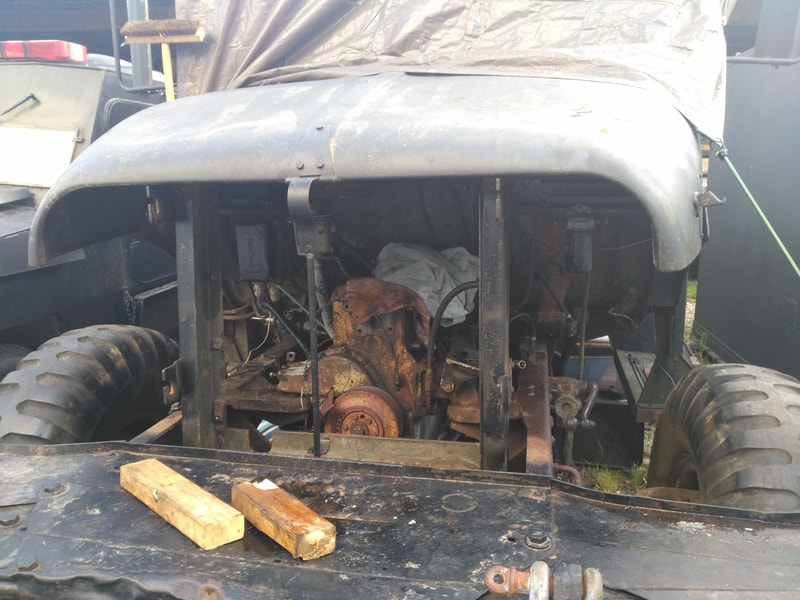
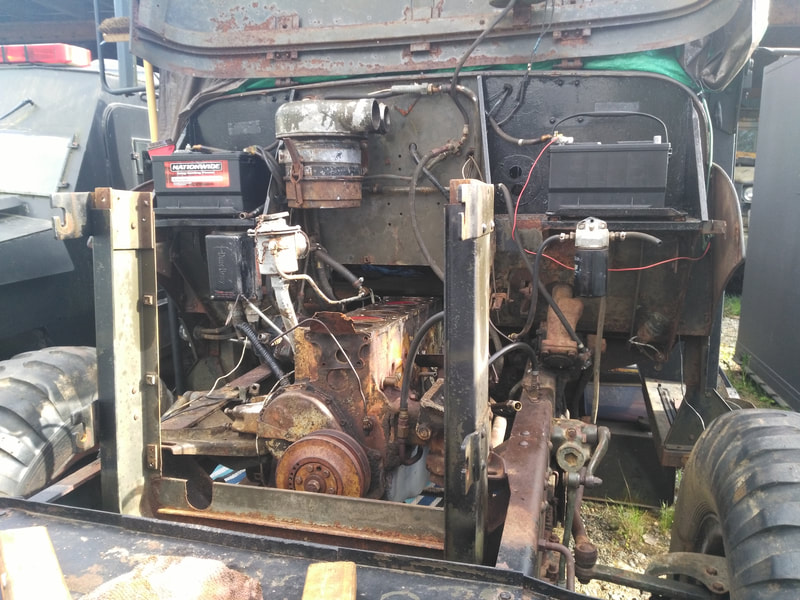
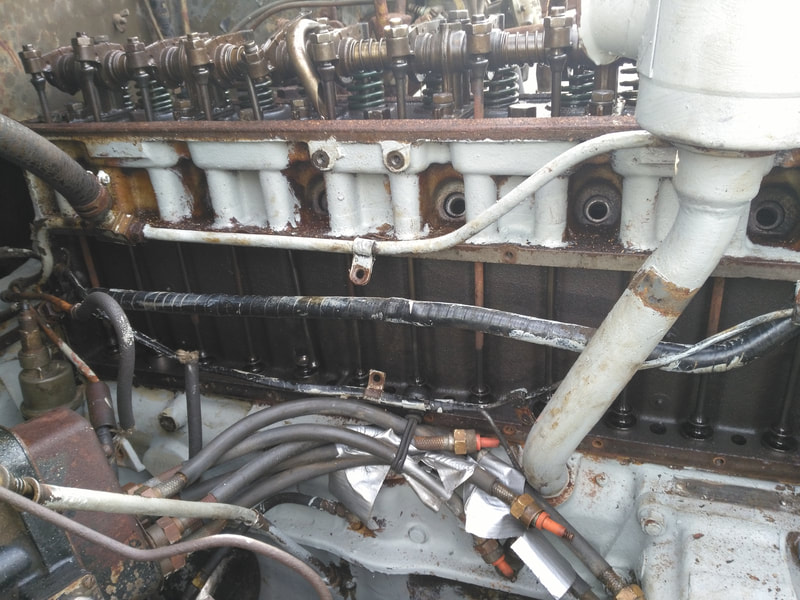
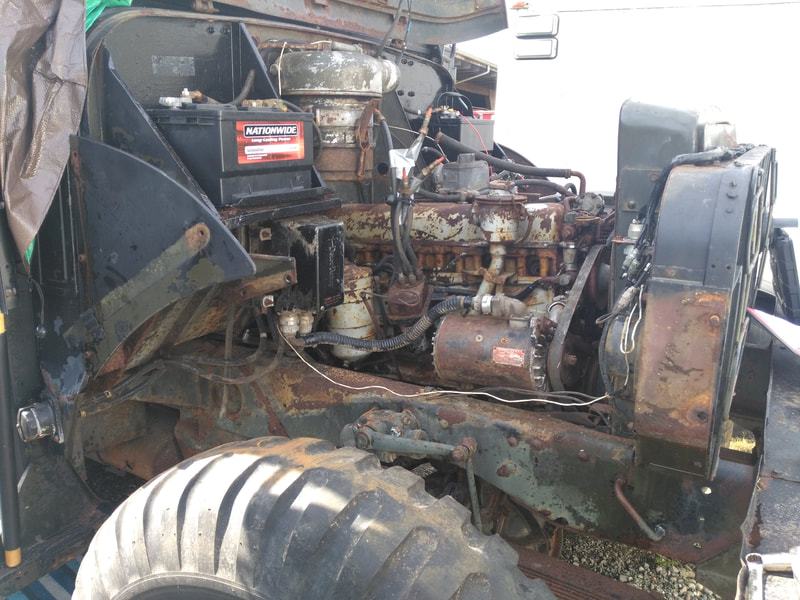
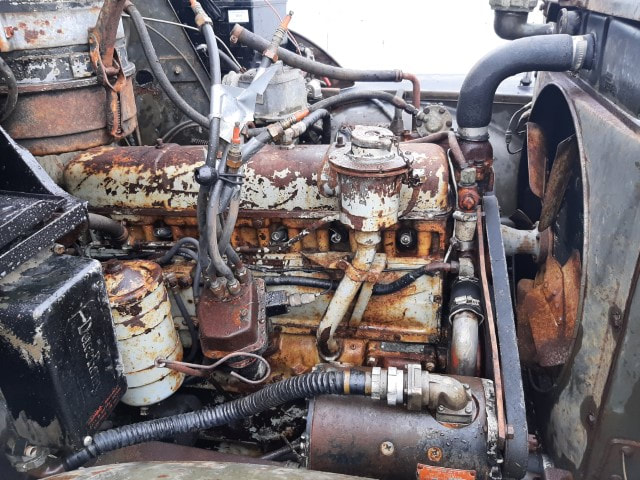
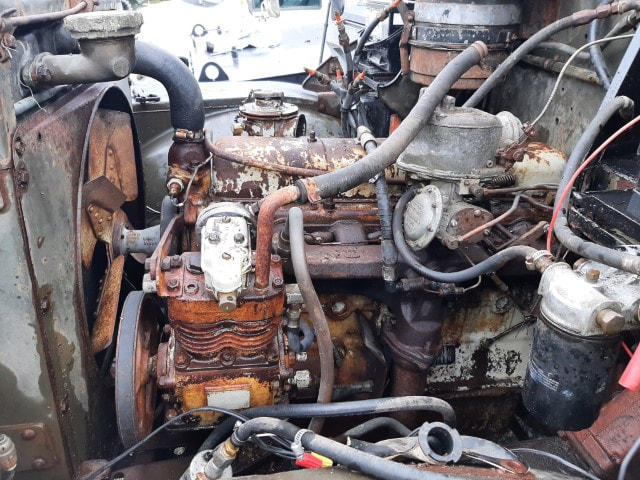
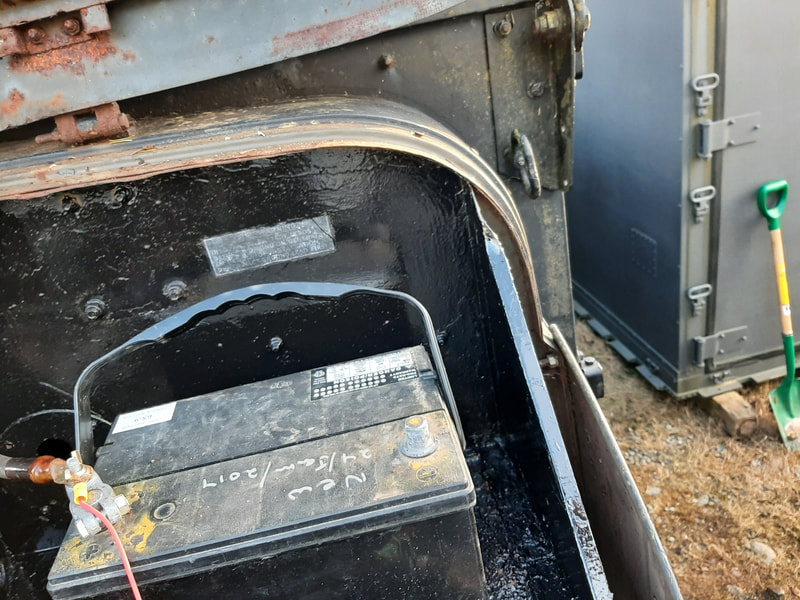
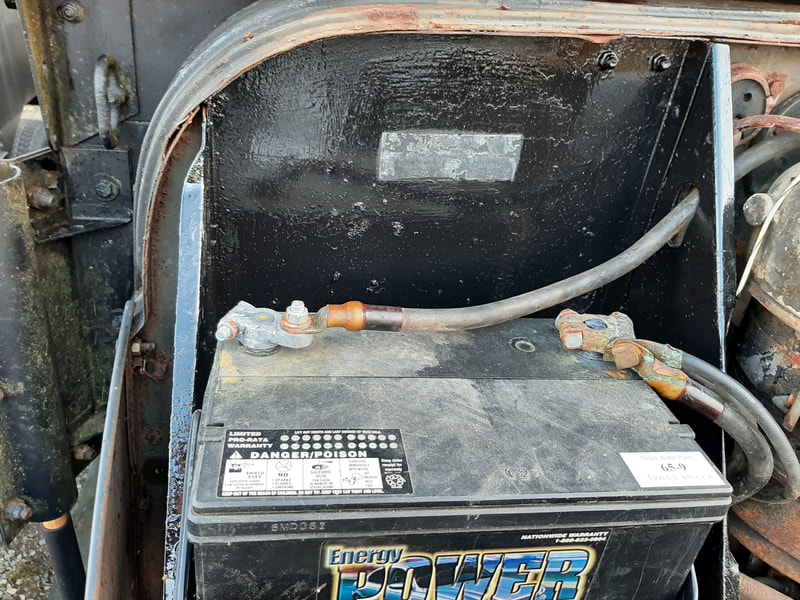
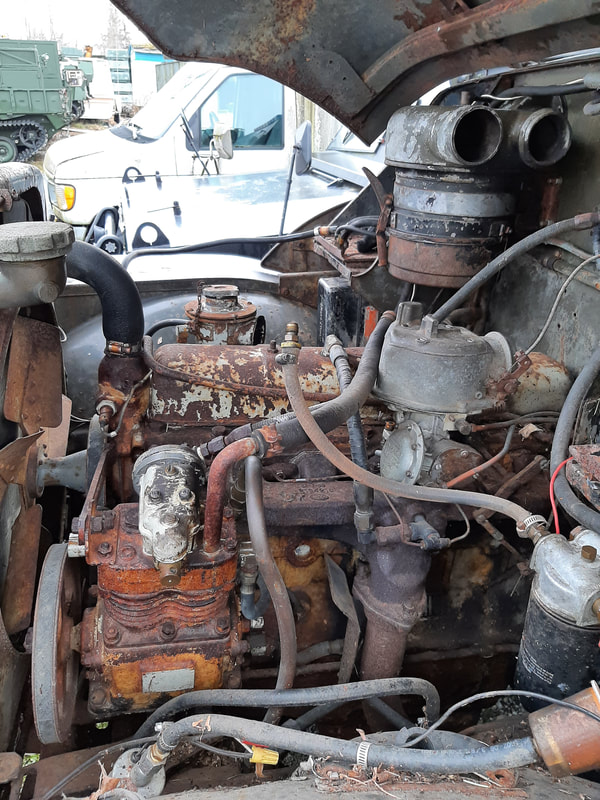
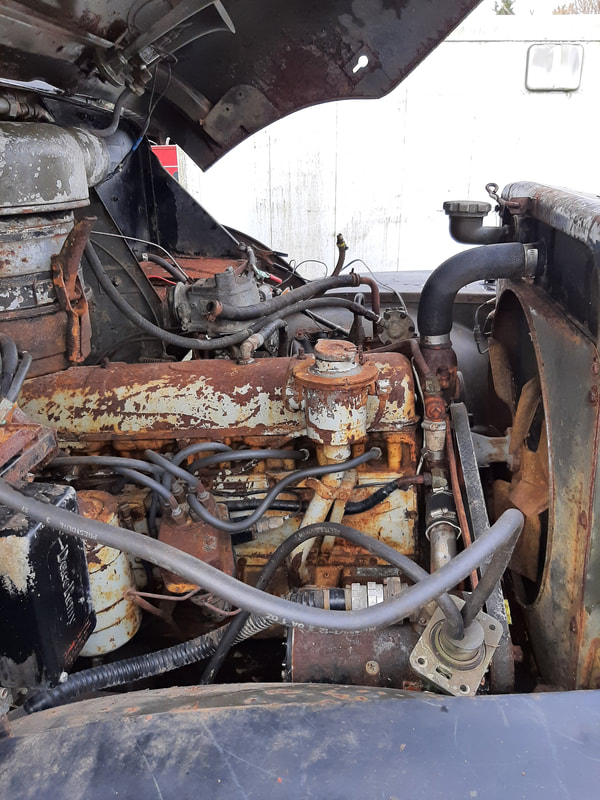
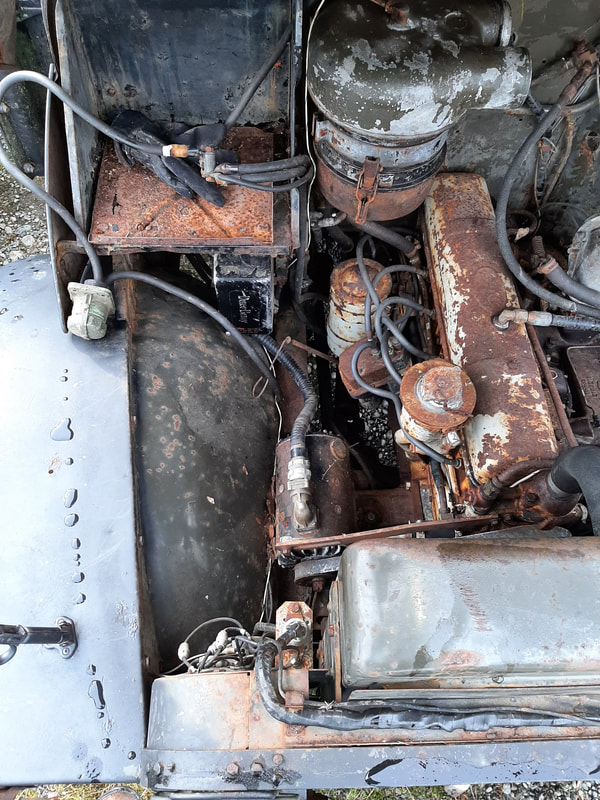
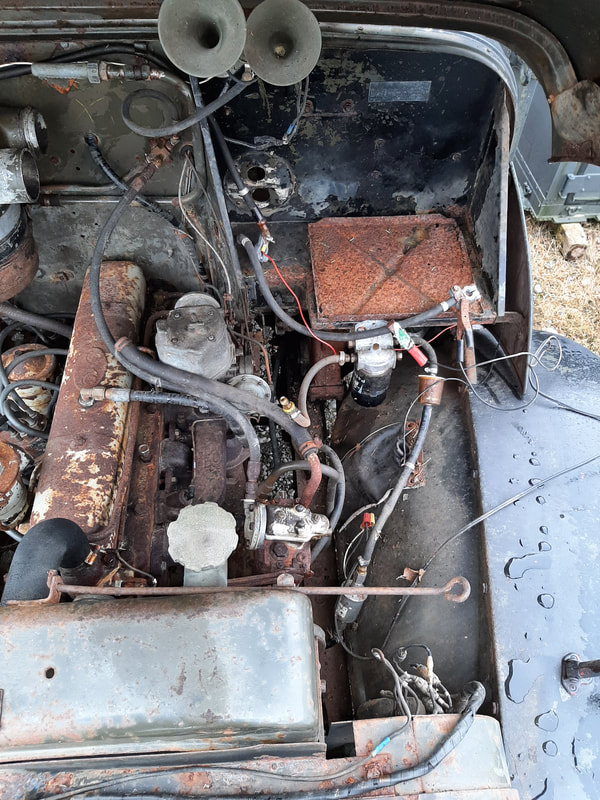
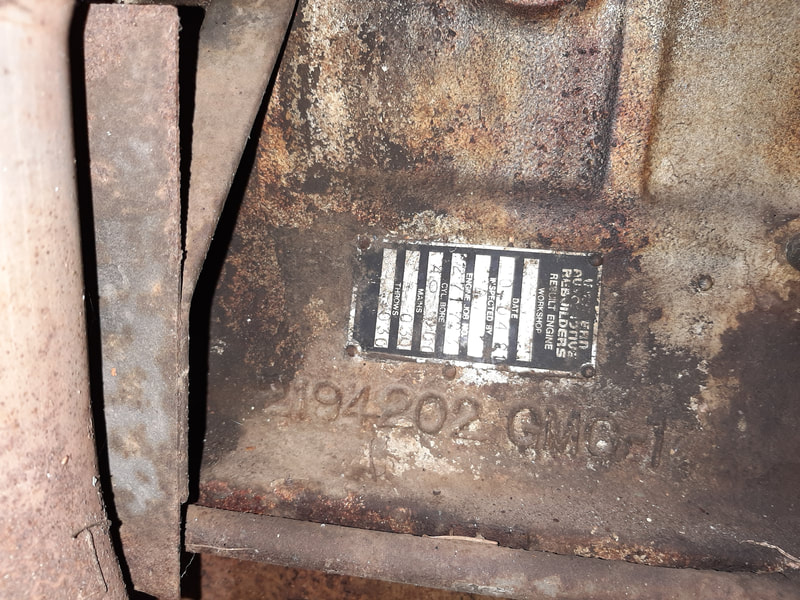
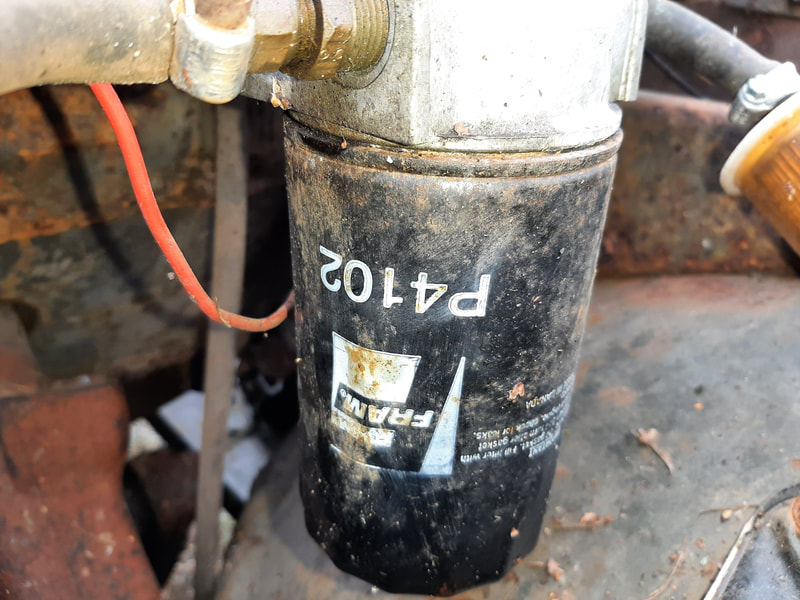
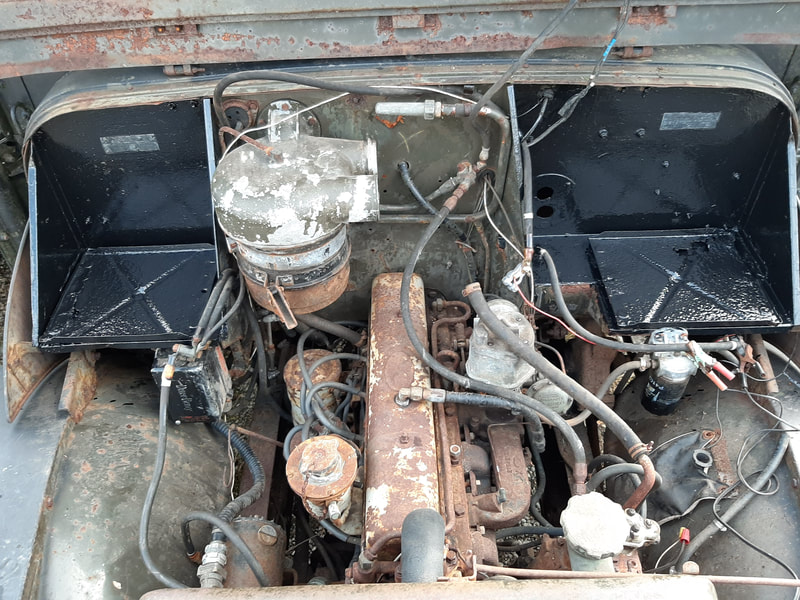
The engine is rather rusty as well, but there does appear to be a bright side. The oil does not appear to be contaminated. Probably best to do an oil change before we turn the engine over. The radiator appears sound although we are unable to open the radiator cap as too many years have severally corroded the plastic cap. Looking for a bigger wrench than I currently own before trying again. The transmission fluid also appears clean. Just need to find a replacement for the 10W that was standard in the past. The recent owner has installed a 12 volt fuel pump with two inline filters. I have purchased replacement filters and you can see the gas tank work further down. The battery boxes have been painted with Tremclad rust paint. Not a perfect solution but at least it will arrest any further deterioration.
Interested in helping out on the project? Drop me a line at [email protected]
Reference Material
|
TM9-819A part 1 2 1/2 Ton 6x6 Cargo Trucks M135
|
| ||||||
|
TM9-819A part 2 2 1/2 Ton 6x6 Cargo Trucks M135
|
| ||||||
|
TM9-819A part 3 2 1/2 Ton 6x6 Cargo Trucks M135
|
| ||||||
|
TM9-819A part 4 2 1/2 Ton 6x6 Cargo Trucks M135
|
| ||||||
|
TM9-8024 part 1 Operation and Organizational Maintenance 2 1/2 Ton 6x6 Cargo Trucks M135 & M211
|
| ||||||
|
TM9-8024 part 2 Operation and Organizational Maintenance 2 1/2 Ton 6x6 Cargo Trucks M135 & M211
|
| ||||||
|
TM9-8024 part 3 Operation and Organizational Maintenance 2 1/2 Ton 6x6 Cargo Trucks M135 & M211
|
| ||||||
|
TM9-8024 part 4 Operation and Organizational Maintenance 2 1/2 Ton 6x6 Cargo Trucks M135 & M211
|
| ||||||
|
TM9-8024 part 5 Operation and Organizational Maintenance 2 1/2 Ton 6x6 Cargo Trucks M135 & M211
|
| ||||||
|
TM9-1819AC part 1 Ordnance Maintenance 2 1/2 Ton 6x6 Cargo Trucks M135 & M211
|
| ||||||
|
TM9-1819AC part 2 Ordnance Maintenance 2 1/2 Ton 6x6 Cargo Trucks M135 & M211
|
| ||||||
|
TM9-1819AC part 3 Ordnance Maintenance 2 1/2 Ton 6x6 Cargo Trucks M135 & M211
|
| ||||||
|
TM9-1819AC part 4 Ordnance Maintenance 2 1/2 Ton 6x6 Cargo Trucks M135 & M211
|
| ||||||
|
TM9-1819AC part 5 Ordnance Maintenance 2 1/2 Ton 6x6 Cargo Trucks M135 & M211
|
| ||||||
|
TM9-1819AC part 6 Ordnance Maintenance 2 1/2 Ton 6x6 Cargo Trucks M135 & M211
|
| ||||||
|
TM9-8025-1 part 1 Ordnance Field and Depot Maintenance GMC 302 Engine
|
| ||||||
|
TM9-8025-1 part 2 Ordnance Field and Depot Maintenance GMC 302 Engine
|
| ||||||
|
TM9-8025-1 part 3 Ordnance Field and Depot Maintenance GMC 302 Engine
|
| ||||||
|
TM9-8025-1 part 4 Ordnance Field and Depot Maintenance GMC 302 Engine
|
| ||||||
|
TM9-8025-1 part 5 Ordnance Field and Depot Maintenance GMC 302 Engine
|
| ||||||
|
TM9-8025-1 part 6 Ordnance Field and Depot Maintenance GMC 302 Engine
|
| ||||||
